Submitting a special order allows you to sell items that are currently out of stock while keeping a clear record of the transaction. This process ensures accurate tracking and seamless handling of special orders for your customers.
You may refer to this video for a step-by-step guide on submitting a special order: https://www.youtube.com/watch?v=z-VkK-aJMas
Step 1: Start a new sale
1. Create a new sale in the checkout app.

2. Select the salesperson handling the transaction.
3. Choose an item that is currently out of stock.

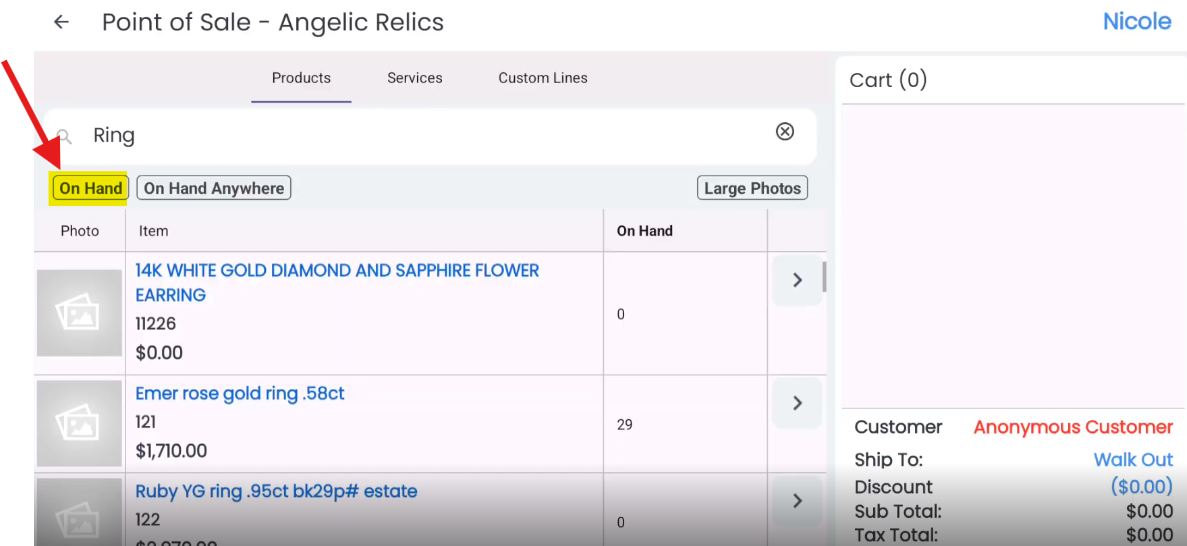
Step 2: View out of stock items
1. To see items that are out of stock, tap on the On Hand filter above the item list and untick it.
2. This will display all items, including those not available.
Step 3: Confirm Special Order
1. Once you select an out-of-stock item, it will automatically be marked as a Special Order.
2. On the right-hand side, you’ll see SO below the item, confirming it’s a special order.

3. You can tap the item to double-check that the Special Order option is selected.

5. At this point, select the customer if you haven’t done so already.
Step 4: Proceed to Checkout
1. Go to checkout and select a payment method.
2. By default, the Special Orders policy will appear, which requires the customer’s signature before finalizing the purchase.
In this example, you can swipe to remove it if necessary.

Step 5: Complete the order
After finalizing the payment, you can:
Print the receipt
View the receipt
Send the receipt to the customer
When viewing the receipt, you’ll notice it states that the type of sale was a Special Order.
This helps track special orders submitted through the system.

Troubleshooting
If you encounter any issues submitting a special order in the checkout app, please contact Flawless POS support for assistance.
Was this article helpful?
That’s Great!
Thank you for your feedback
Sorry! We couldn't be helpful
Thank you for your feedback
Feedback sent
We appreciate your effort and will try to fix the article