In this article, we’ll go through the steps on how to generate pages using the AI Page Builder within Flawless POS.
The Site Structure & Pages dashboard is the central hub for creating, generating, and organizing all custom layouts, static pages, ecommerce templates, and shared components across your site variant.
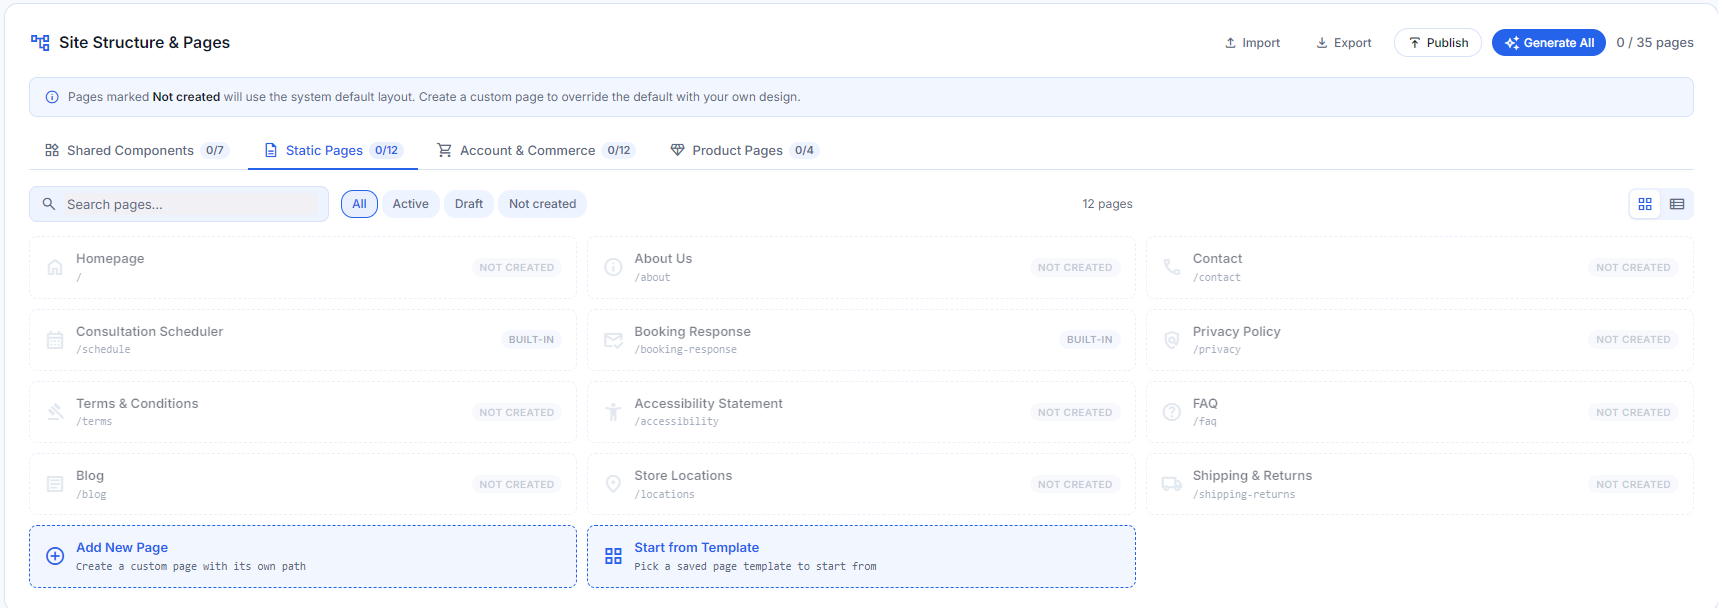
Page Categories & Tabs
Pages are organized into four core categories to help manage your store structure:
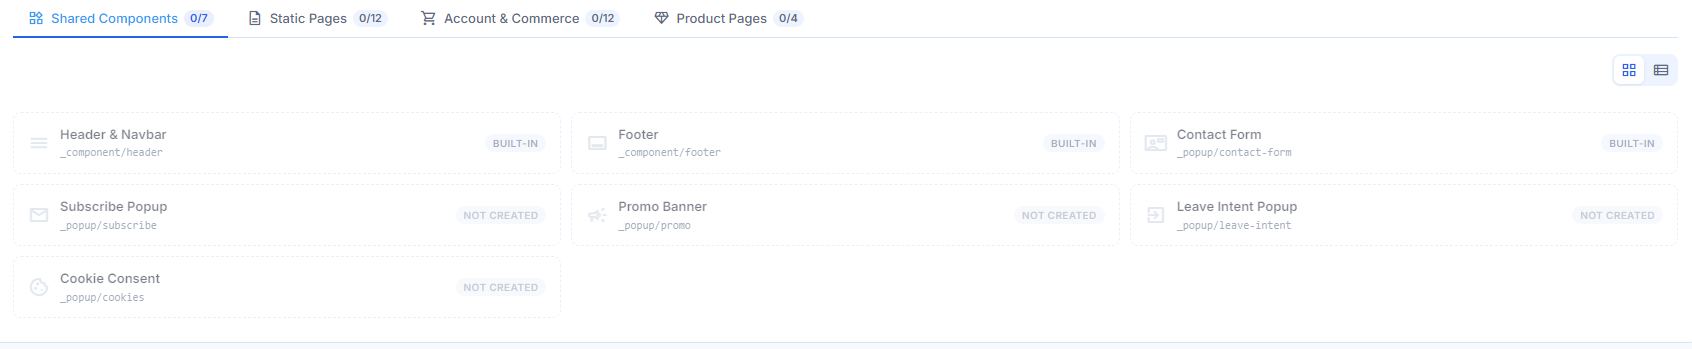
Shared Components: Global elements (e.g., headers, footers, announcement bars) shared across multiple pages.
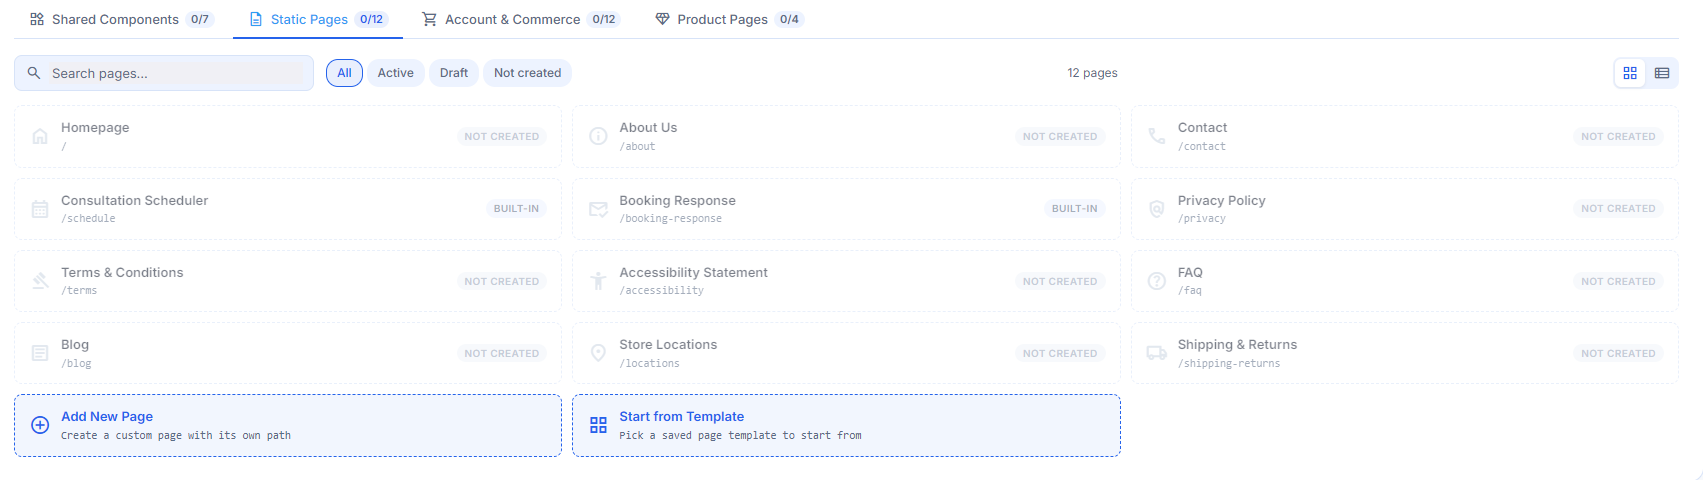
Static Pages: Standard informational content pages like Homepage, About Us, Contact, Terms & Conditions, FAQ, and Blog.
 Account & Commerce: Standard e-commerce templates such as Cart, Checkout, and Customer Account management screens.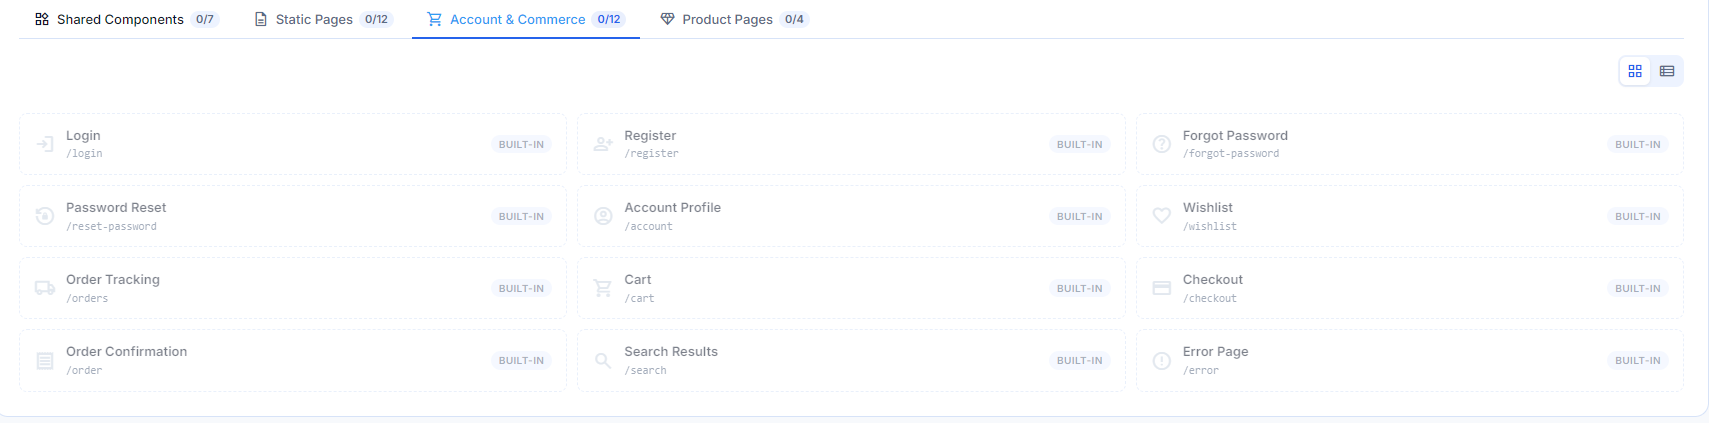
Product Pages: Layout templates specifically for product detail views and collection listings.

Step 1: Generating Pages
For this guide we will be generating a few pages to show the basics of how the AI Page Builder works. We will be generating 2 shared components ( Header & Footer ) and 2 Static Pages ( Home Page & About Us ).
Generating the Header
On the AI Page Builder click Shared Components, then choose Header & Navbar.
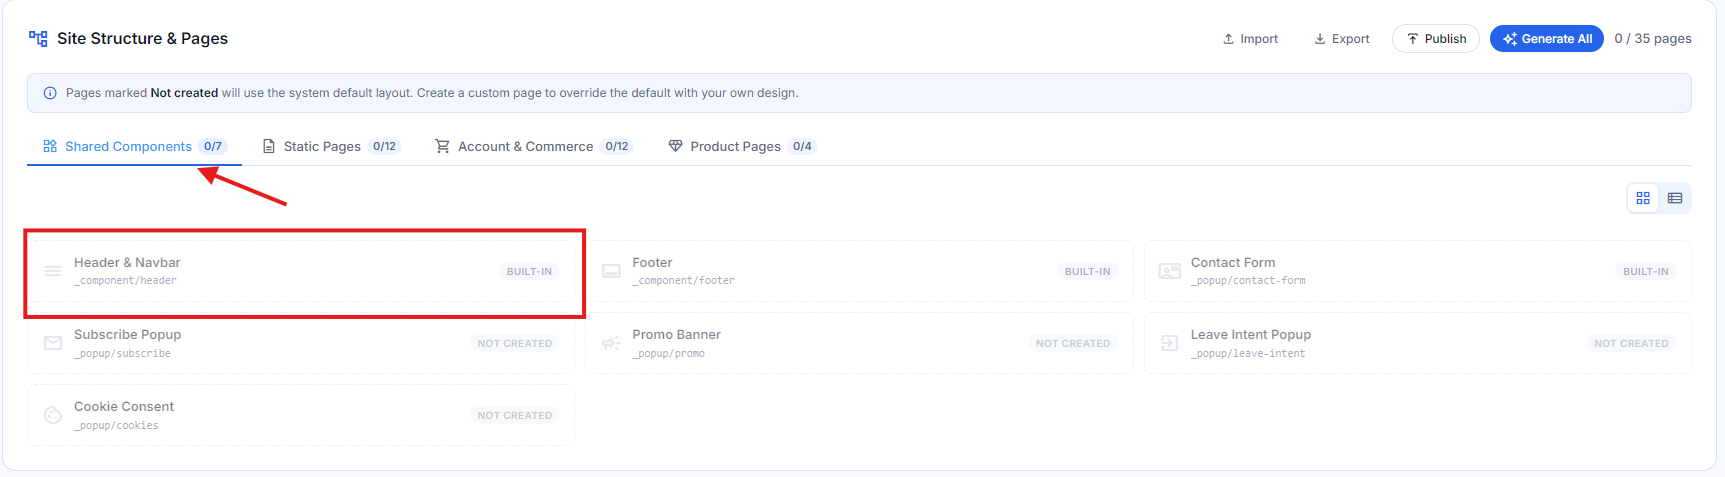
This is what it looks like once you click on the Header page.
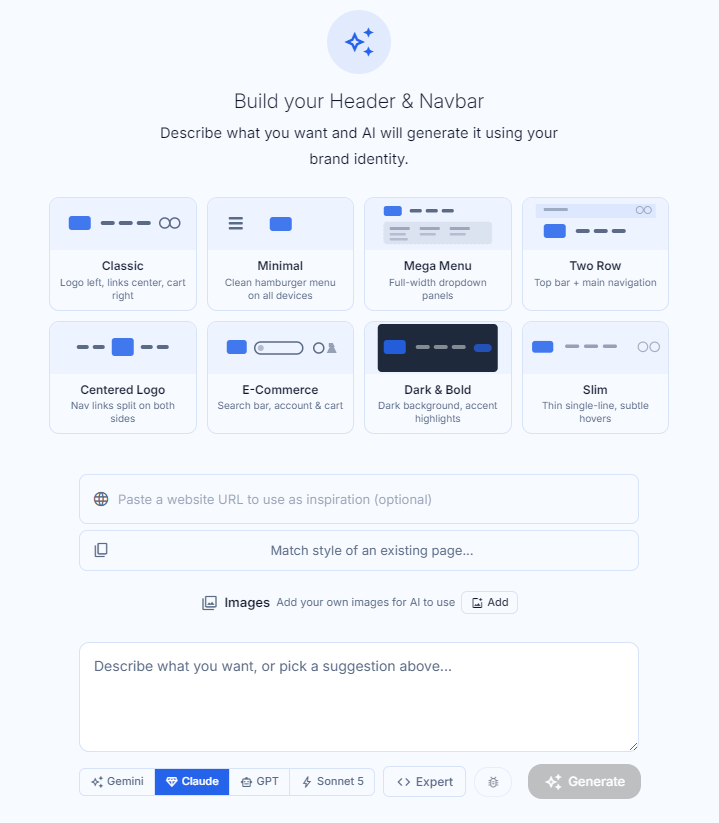
Choose one of the 8 Header presets that you like:
- Classic
- Minimal
- Mega Menu
- Two Row
- Centered Logo
- E-commerce
- Dark & Bold
- Slim
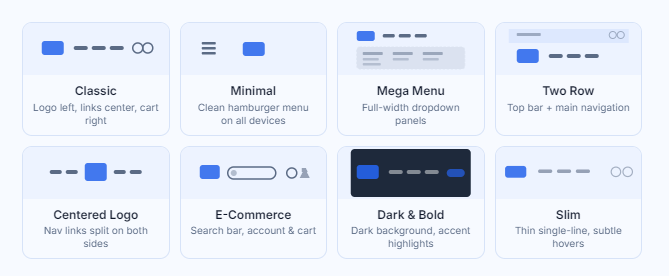
Once you click on a preset the AI automatically writes down a prompt for you to achieve that specific preset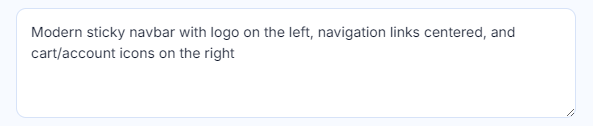
You can also paste a website's URL so that the AI may get it's reference from.

This also works similarly but it is referencing to a page that you have already made

This is particularly important if you plan to have the AI use a specific image that you want. You can choose and upload images that you want

This is the prompt box. In this box you can order or specifically tell what you want the AI to do.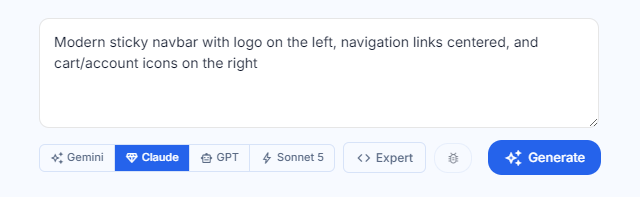
Below the prompt box is where you can choose your preferred AI model to generate the page. All works fine and they are the latest models.
Click Generate once you are satisfied with your prompt

Once you click Generate, a popup box will appear saying that the AI is working on generating the page for you. You can see the estimated time and the total time its taking while doing so. Wait for the AI to finish generating the page. It may take awhile.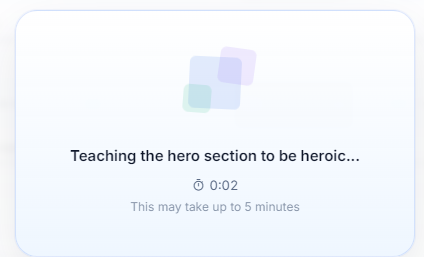
Here is the finished Header that the AI has generated.
Note ( The color it takes ,fonts and logo are from your configured Brand identity )

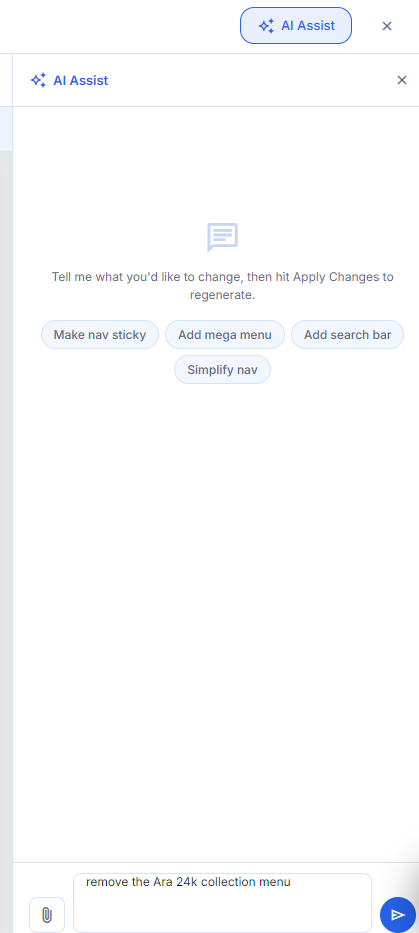
If you are not satisfied or want to make changes to the page in real time. You can do so by giving the AI a prompt. Locate on the top right the AI Assist button.
A box on the right side will pop up and from here on you can write a prompt directly to the AI on what you want to do or change. Click on the arrow button once you want to give it the prompt
Ex: I want the AI to remove one of the Nav bar menu named "Ara 24k Collection "
Click Apply Changes. A popup saying the AI is working on it should appear. Wait for it to finish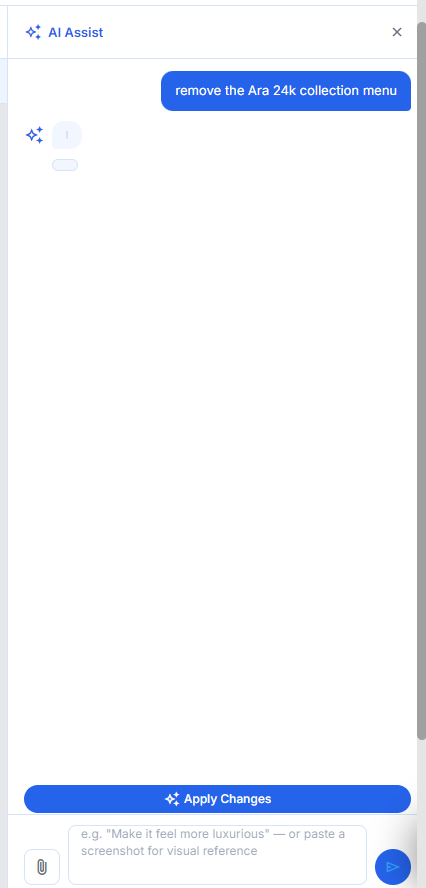
The Ara 2k collection menu was removed.
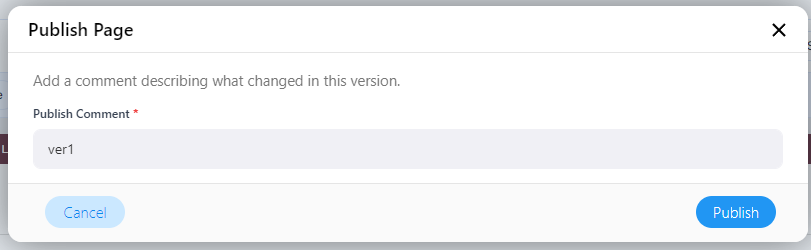
Be sure to hit Save every time a prompt finishes and if the AI did the prompt correctly. Once you are satisfied the Header , click Publish

Just write any comment, then hit Publish
ex: ver1
Generating the Footer
Click Footer on Shared Components section.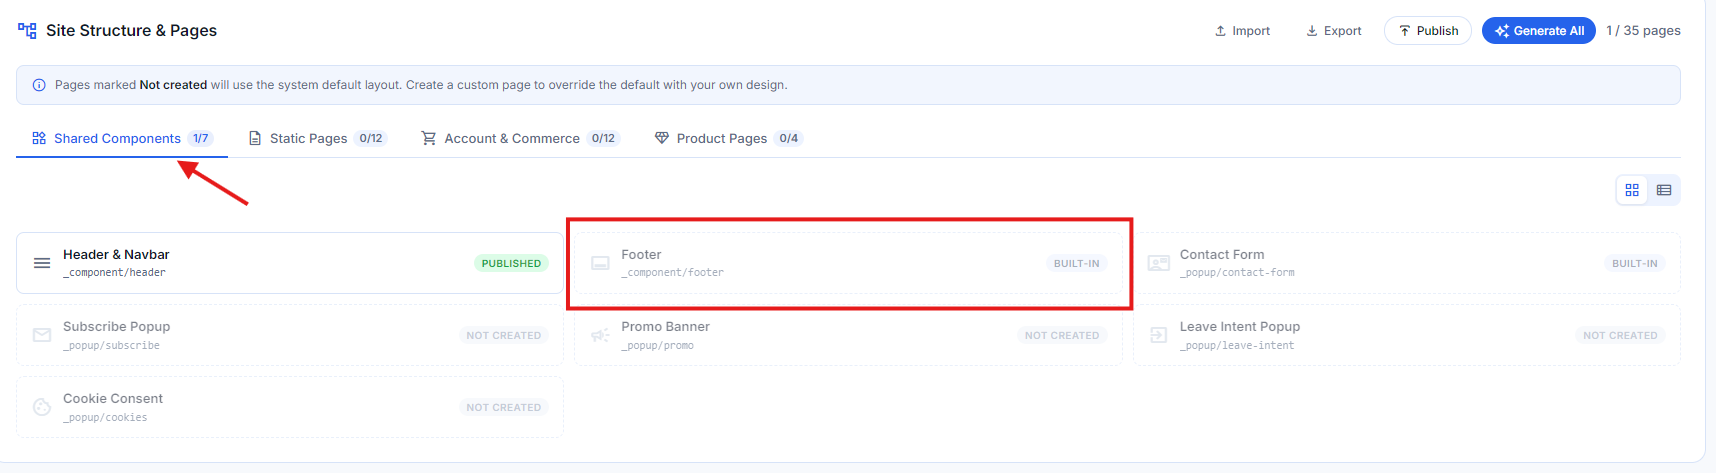
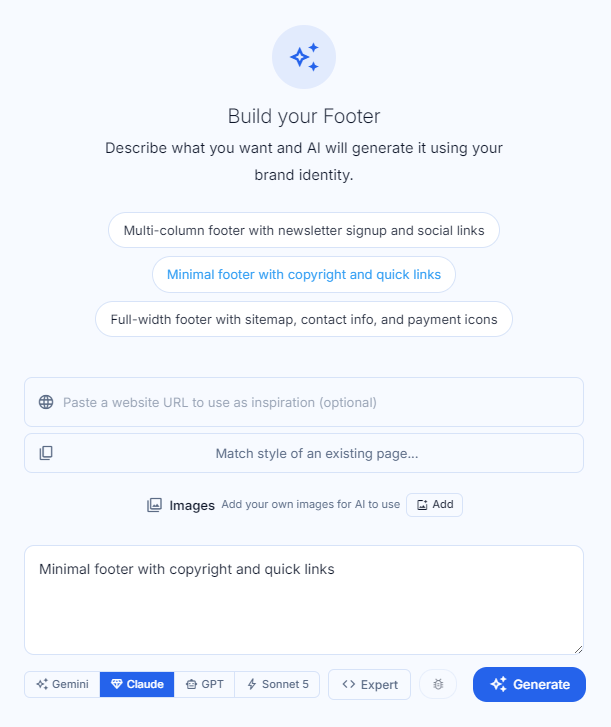
This is what it should look like what you click on the Footer Page, similar to the Header one it lets you paste a website URL for reference, match style of an existing page, add images, lets you prompt and choose the AI model. Slight difference is that there is no preset unlike the Header.
Prompt your footer or choose one of the preset options on the top. Click Generate once done and the AI should start generating the Footer for you.
This is the result of the generated Footer. Again, you can hit the AI Assist button on the top right if you want to make changes. H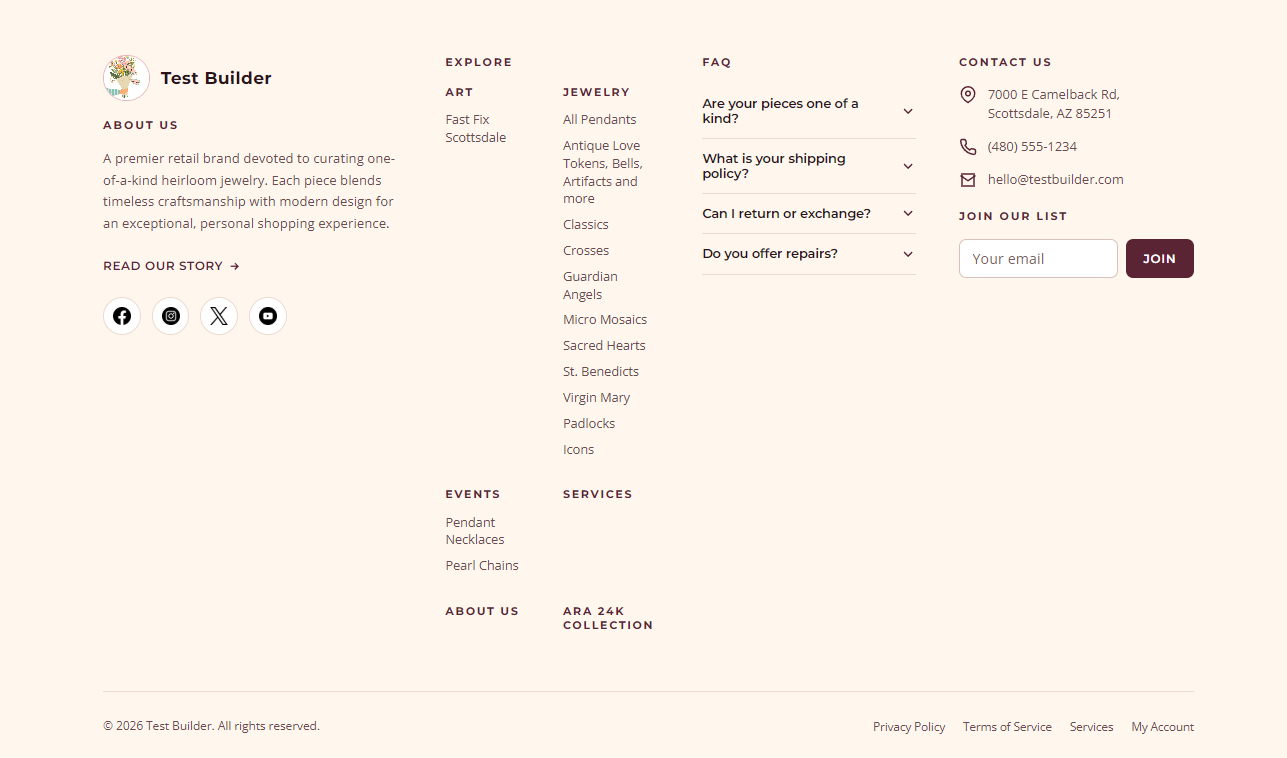
Hit Save and Publish once you are satisfied. Write a comment and hit Publish once again.

Generating the Home Page
Next we are going to generate the Home Page, go to Static Pages of the AI Page Builder. Choose Homepage
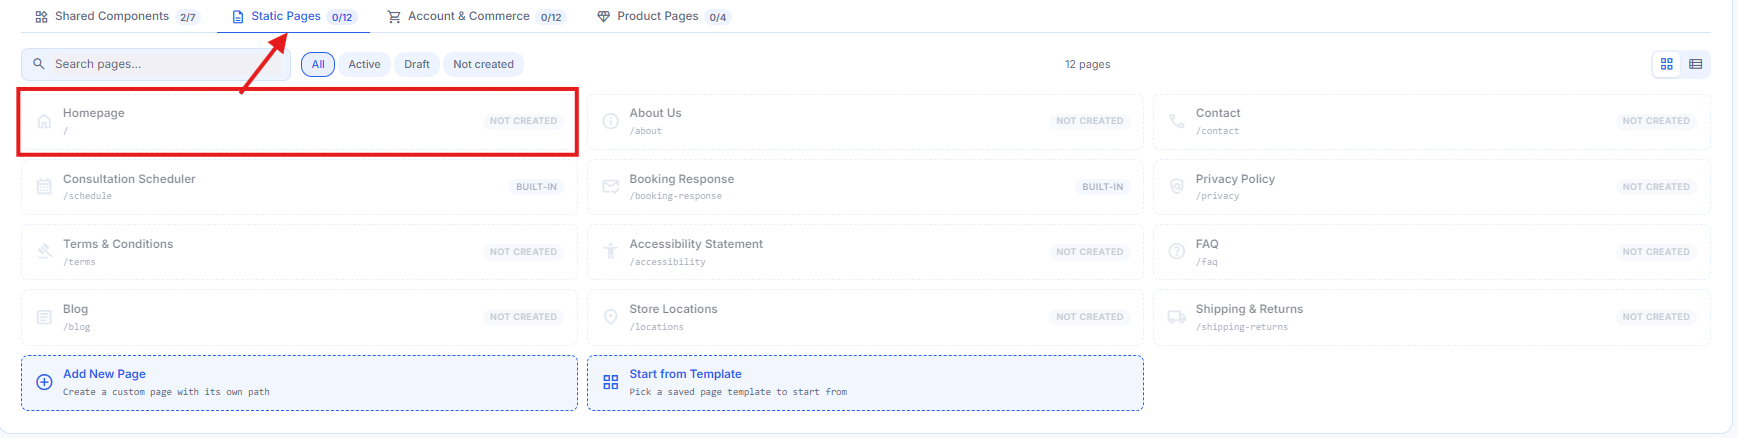
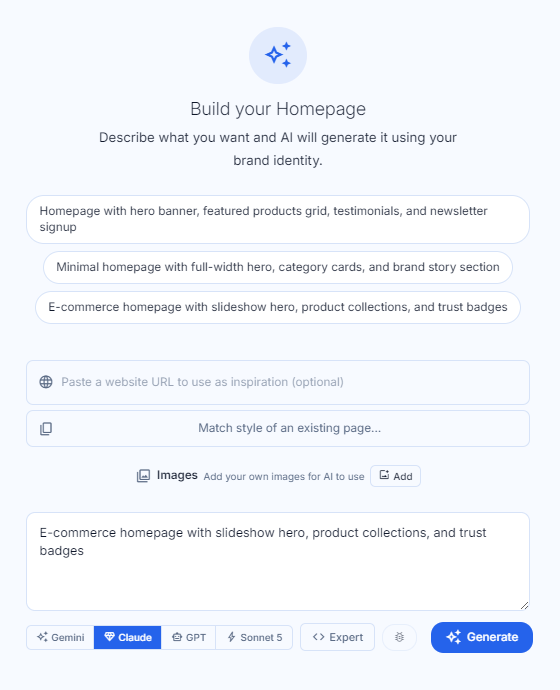
This is what it should look like what you click on Homepage, similar to the Header and Footer , it lets you paste a website URL for reference, match style of an existing page, add images, lets you prompt and choose the AI model.
Write down a prompt or choose one of the presets for your Homepage. Click the Generate once you are done. Wait for the AI the generate the Homepage
Here is the generated Homepage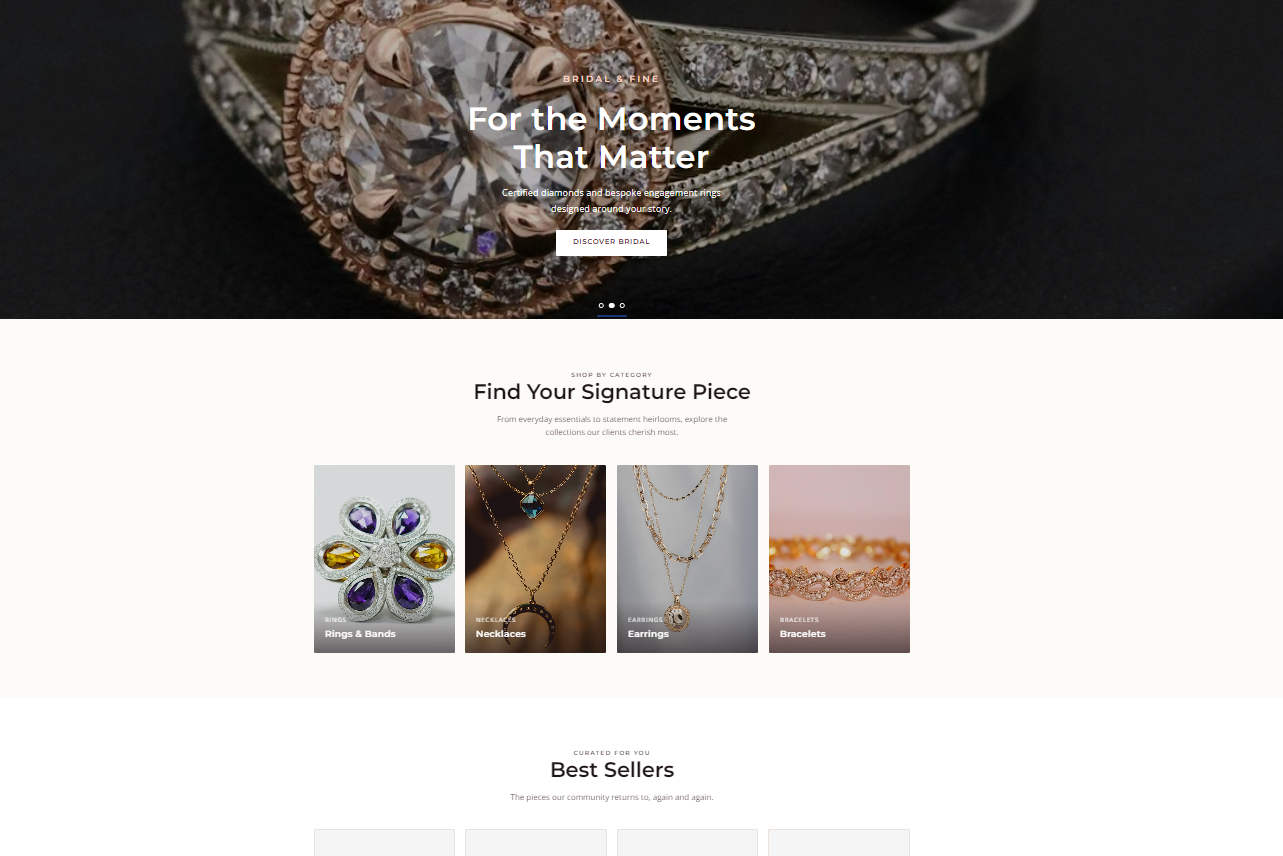
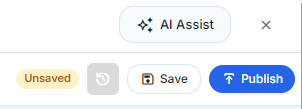
Make sure to use the AI Assist to prompt and make changes to the page. Click Save and hit Publish once you are done.
Generating the About Us Page
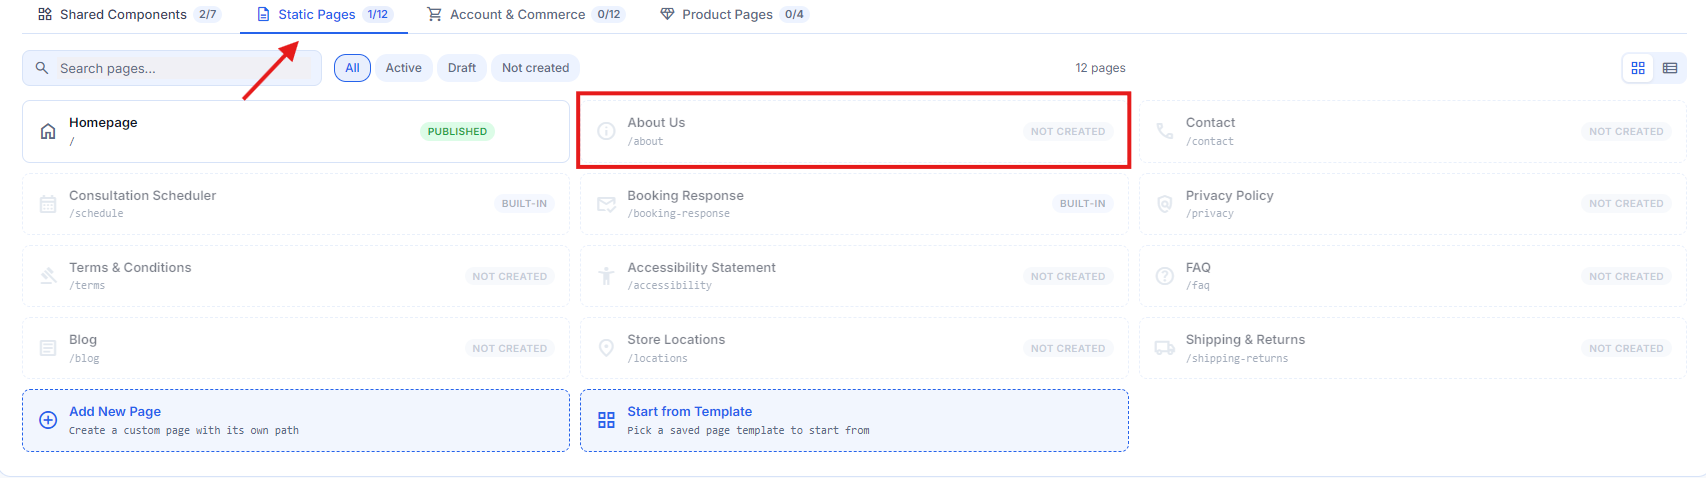
The last page we are going to generate is the About Us Page, just like the Homepage, on Static Pages click on About Us.
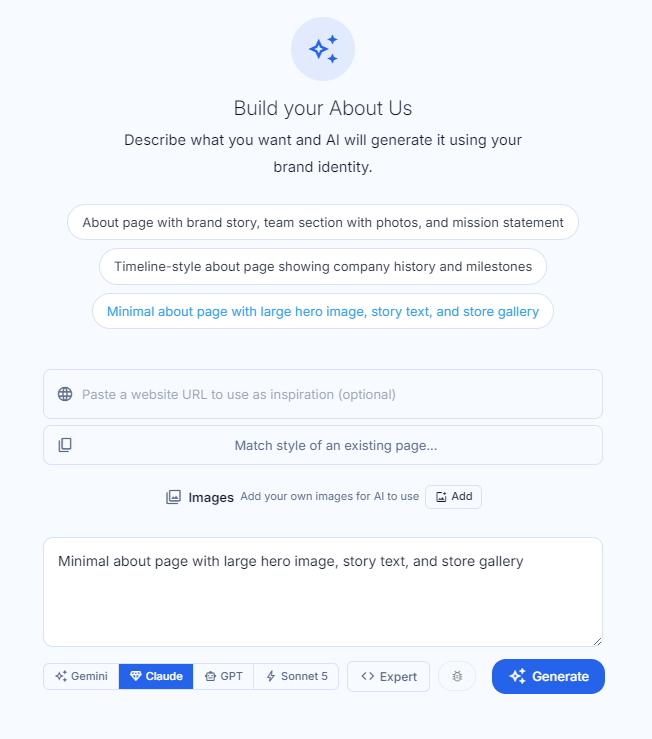
This is what it should look like what you click on About Us, similar to the Hompage , it lets you paste a website URL for reference, match style of an existing page, add images, lets you prompt and choose the AI model.
Write down a prompt or choose one of the presets for your About Us Page. Click the Generate once you are done. Wait for the AI the generate the About Us Page
Here is the generated About Us Page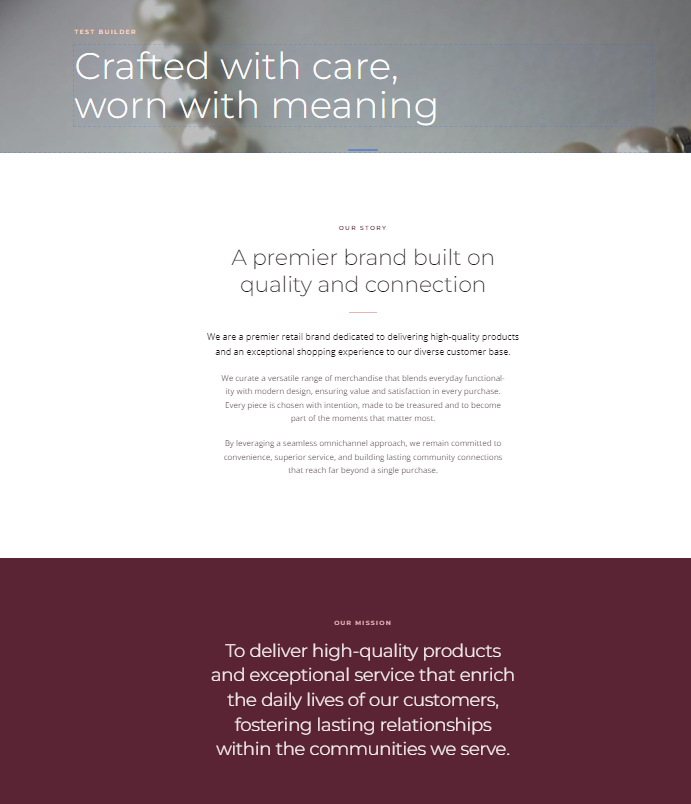
Once again, make sure to use the AI Assist to prompt and make changes to the page. Click Save and hit Publish once you are done.
Good job on generating the pages. You can know that the page is published when you see on their right side it says "Published"

Troubleshooting
For any issues encountered during the submission of the Customer Repair Job, please contact Flawless POS support for assistance.
Was this article helpful?
That’s Great!
Thank you for your feedback
Sorry! We couldn't be helpful
Thank you for your feedback
Feedback sent
We appreciate your effort and will try to fix the article