In this article, we’ll go through the steps to make the Brand Identity of your website through the AI Page Builder within Flawless POS.
The Brand Identity tab acts as the central design system for the AI Page Builder. It defines the core visual aesthetic, typography, color schemes, and tonal guidelines that the AI uses to automatically generate on-brand storefront pages and components.
Step 1: Access the AI Page Builder
To get started:
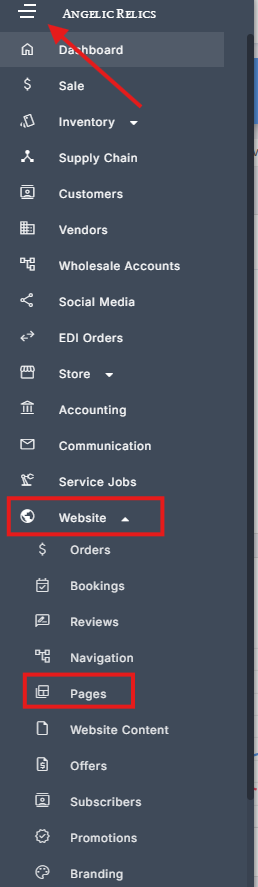
Open your Left Navigation Menu.
Click Website then Pages option to access the AI Page Builder
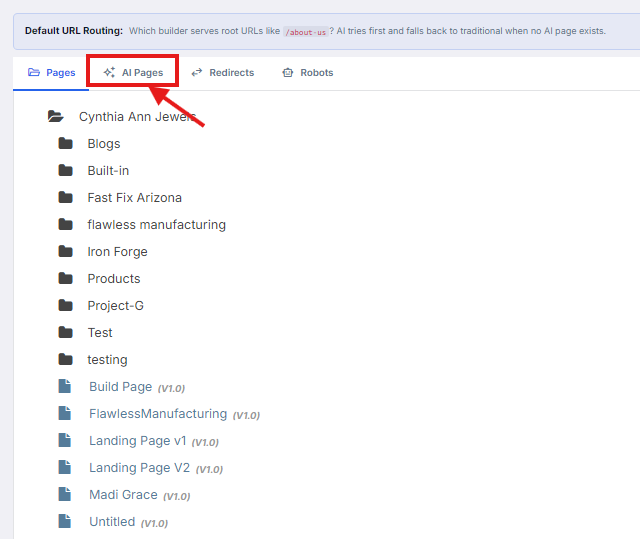
Click on AI Pages
Step 2: Making of Brand Identity
Click on Brand Identity.
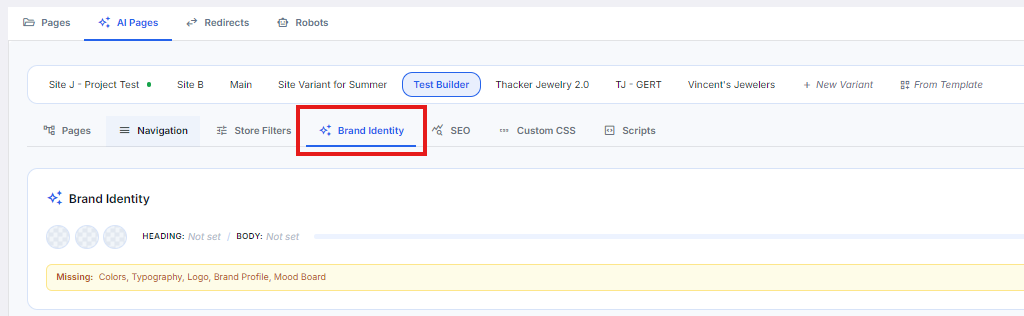
Once you click on Brand Identity, you will see an overview of your configured Brand Identity. Click on Edit Brand Identity to start configuring or making.
Colors
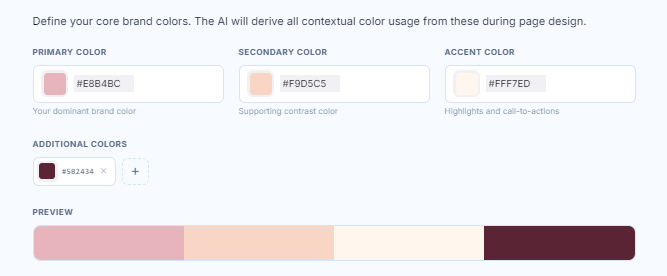
The Colors tab is Step 1 of the Brand Identity setup wizard. It defines the core color palette that the AI uses to dynamically derive background contrast, button styles, typography colors, and call-to-action highlights during page generation. Pick the colors you want for the following:
Brand Colors
Primary Color: Set the dominant brand color used across headers, primary elements, and major accents.
Secondary Color: Define supporting contrast colors for secondary buttons, borders, and sub-headings.
Accent Color: Select high-visibility colors reserved for highlights, badges, and primary call-to-action (CTA) buttons.
Additional Colors (+): Add extra HEX color tokens for specialized site elements or expanded design systems.
You also can see the preview of your chosen colors
Background Preference
Light / Dark Toggles:
Choose the default background mode for the site. The AI will automatically adjust contrast and text legibility based on this selection
AI Palette Generation Tools
Generate from Primary: Automatically builds a complete, cohesive palette based on your chosen Primary HEX code.
Extract from Logo: Pulls primary, secondary, and accent colors directly from an uploaded brand logo.
Browse Palettes: Opens a library of curated color schemes to choose from.
Typography
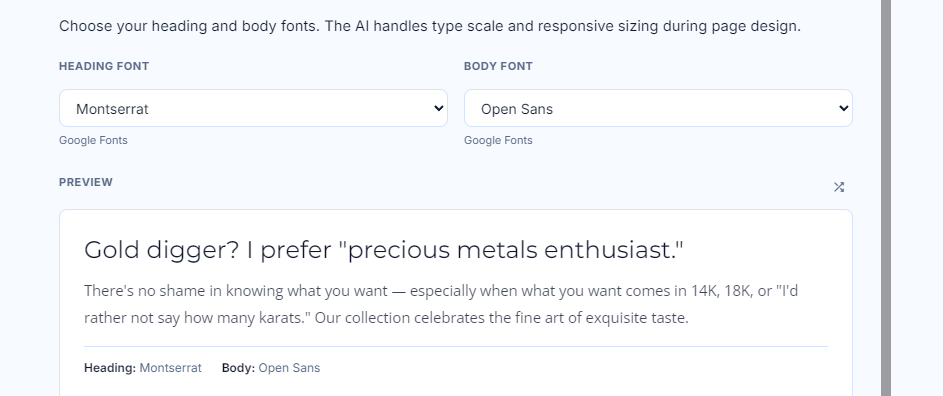
The Typography tab is Step 2 of the Brand Identity wizard. It defines heading and body font pairings, weight preferences, and type scaling across all AI-generated storefront layouts.
Manual Font Selectors
Heading Font: Select the primary font family used for titles, page banners, section headers, and product titles (H1–H6).
Body Font: Choose the font family used for general text paragraphs, product descriptions, navigation links, and UI labels.
You can see a preview of how your fonts will look like on the Preview box.
Weight Preference
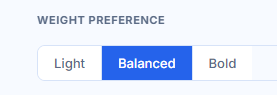
Adjusts the default visual weight and thickness profile across the design system:
Light: Clean, delicate typography ideal for minimalist or modern aesthetics.
Balanced: Standard weight hierarchy optimized for high legibility.
Bold: Strong, high-contrast typography suited for punchy, high-impact branding.
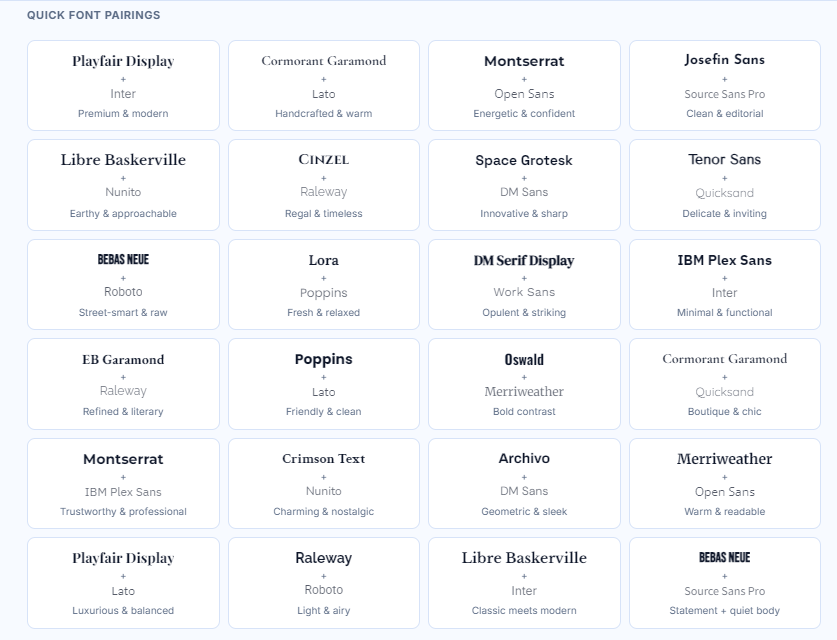
Quick Font Pairings Library
A collection of pre-matched heading and body font pairings curated for specific brand styles
AI Font Pairing Tool
Suggest Font Pairings Button: Automatically analyzes your chosen brand style to generate and apply an optimal typography pairing with one click.
Logos
Logo Best Practices (Guidelines Banner)
Format Recommendation: Uses PNG or SVG with transparent backgrounds for clean integration.
Contextual Variants: Provides recommendations for light/dark variations and compact mobile icons or monograms.

Text Logo Option
Text Logo Toggle: Allows merchants to use styled typography as a primary logo
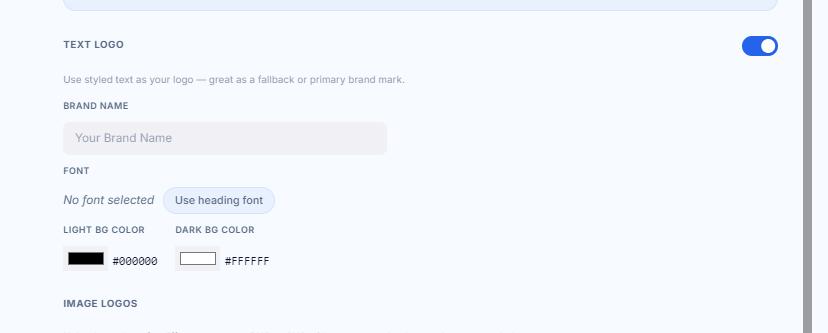
Image Logos
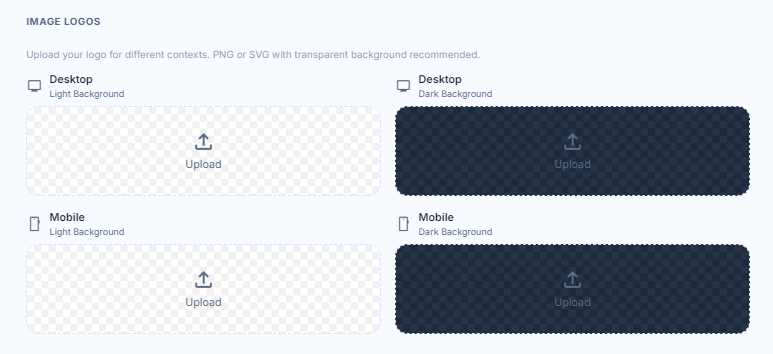
Upload specialized logo files optimized for specific device sizes and theme backgrounds:
Desktop (Light Background): Main logo shown on light headers/views on desktop.
Desktop (Dark Background): Inverted or light-colored logo shown on dark headers/hero overlays on desktop.
Mobile (Light Background): Compact or stacked logo variant for mobile screens with light backgrounds.
Mobile (Dark Background): Compact or stacked logo variant for mobile screens with dark backgrounds.
Favicon & Social Image
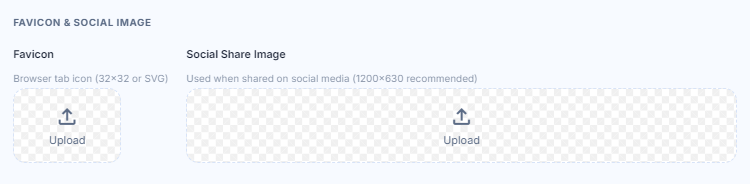
Favicon: Upload small icon graphics used for browser tab icons (recommended size: $32\times32$ px or SVG).
Social Share Image: Upload custom Open Graph images displayed when site links are shared on social platforms or messaging apps (recommended size: $1200\times630$ px).
Brand
The Brand tab is Step 4 of the Brand Identity setup wizard. Considered the most critical input for AI design quality, this section captures the story, tone, target demographic, and aesthetic references that guide the AI in writing copy and structuring web layouts.
Business & Story Fundamentals
Company Description: Define what your company sells, its background, and unique selling points (USPs). Includes an AI Write tool to assist in drafting descriptions.

Mission Statement: Input your core purpose or values to help the AI frame callouts and about-section storytelling. Includes an AI Write feature.

Key People: Highlight owners, founders, or prominent team members with dedicated name and role fields (
+to add team members).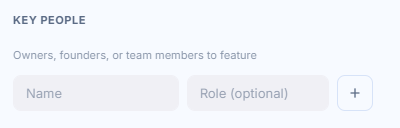
Social Media Integrations: Link social handles across platforms (Instagram, Facebook, TikTok, YouTube, Pinterest, X, LinkedIn) for automated footer and contact page links.

Personality & Content Tone
Brand Personality Sliders: Fine-tune brand nuances along 5 key Spectrum Sliders:
Minimal ↔ Maximalist
Playful ↔ Serious
Accessible ↔ Premium
Warm ↔ Cool
Modern ↔ Classic
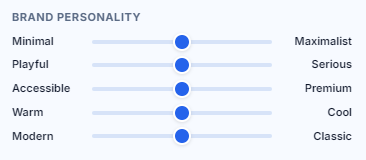
Content Tone Tags: Select up to 3 core tone attributes to direct AI copywriting style (e.g., Luxurious, Sophisticated, Warm & Friendly, Authoritative & Expert).

Target Audience & Style Preferences
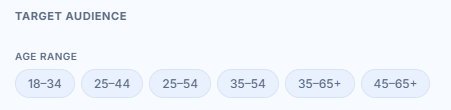
Age Range: Select primary target demographics (e.g., 18–34, 25–54, 35–65+).
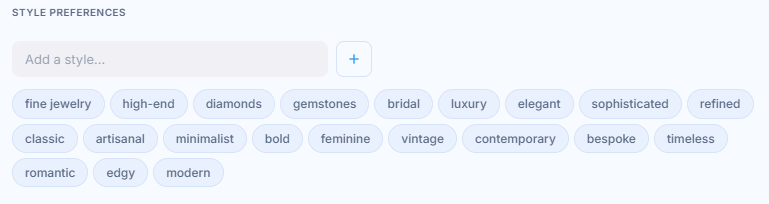
Style Preference Tags: Select or type custom aesthetic descriptors (e.g., fine jewelry, high-end, bespoke, artisanal, timeless, luxury).
Reference Brands & Benchmarks
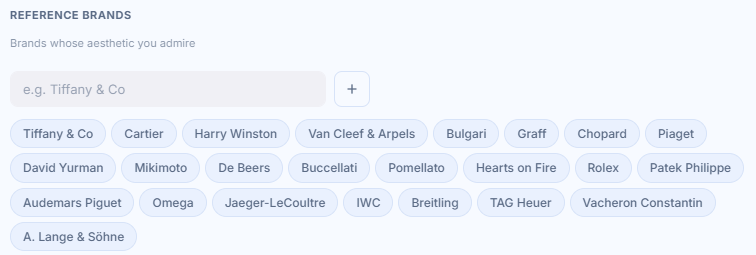
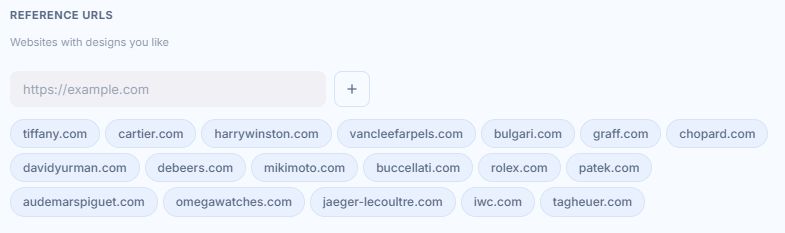
Reference Brands: Input or select benchmark brands whose visual style and prestige level you admire (e.g., Tiffany & Co, Cartier, Rolex, Patek Philippe).
Reference URLs: Add live website URLs that serve as design inspiration. The AI analyzes these structure patterns and layouts to elevate generated page designs.
Preview
The Preview tab is the final step (Step 5) of the Brand Identity setup wizard. It brings together all chosen design elements—colors, fonts, logos, and brand personality rules—to generate a live interactive visual mood board for final verification before saving.
For this section, you can just opt in to write your Company/Brand Name and not go through in the mood board generation.
Brand Name Input
Company / Brand Name Field: Input or verify the exact store or brand name. This text is dynamically embedded into the mood board hero banner and sample navigation preview.
2. AI Mood Board Generation
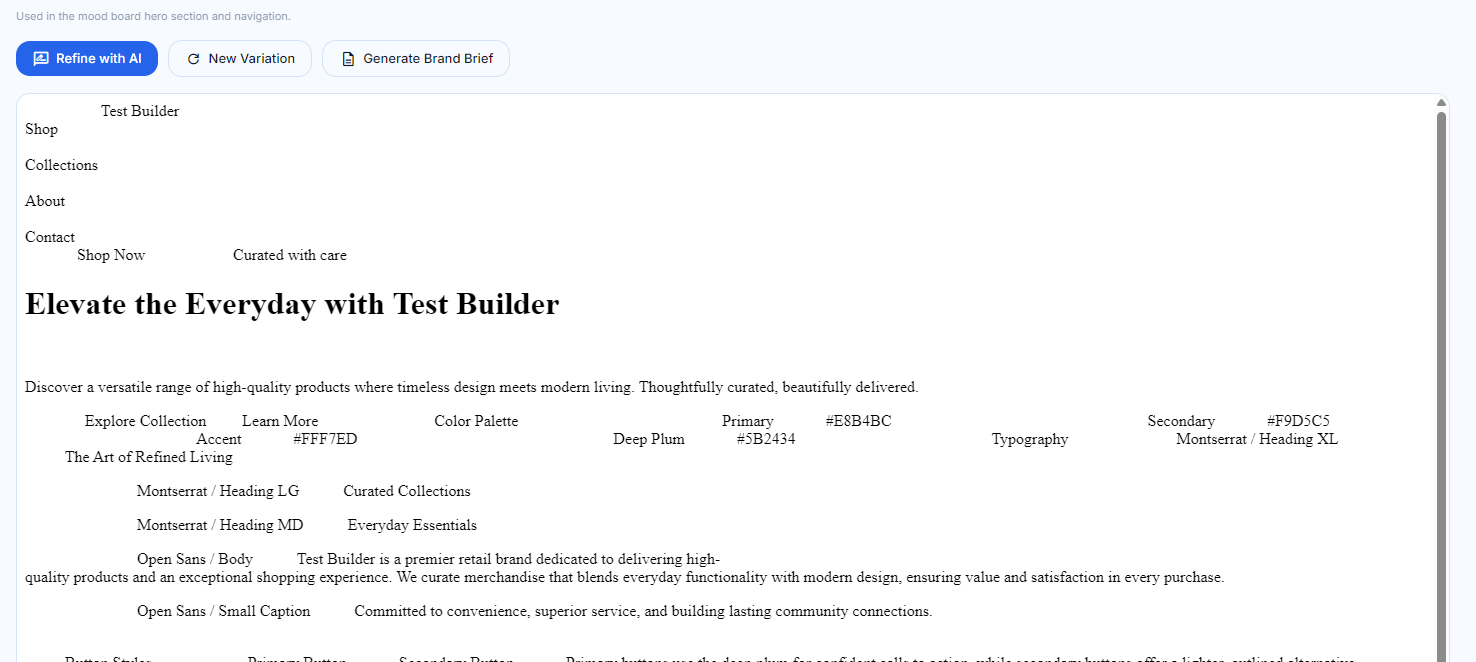
Generate Mood Board Button: Triggers the AI engine to compile all configured settings from Steps 1–4 into a visual style tile.
Below (image) is a sample of a generated mood board, you can choose to make an new variation if you are not satisfied.
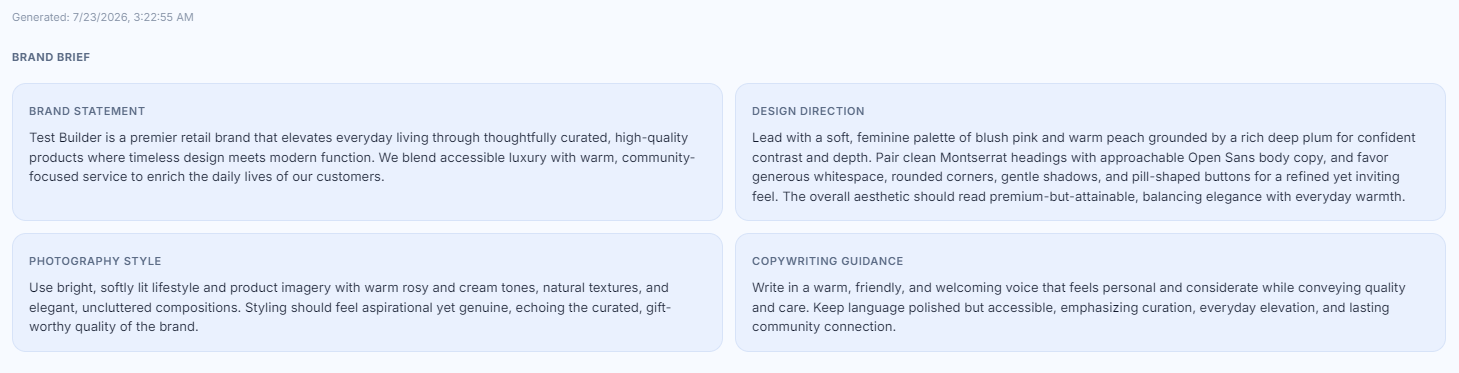
Generate Brand Brief: The Generate Brand Brief tool compiles all configuration choices from the Brand Identity wizard (colors, typography, brand tone, and demographics) into a comprehensive, AI-generated summary document.
This brief serves as the master design directive used by the AI engine when generating new pages, sections, copy, and visual elements.
Once done with everything you can click Save, located on the bottom right of the page.
Once you go back to the Brand Identity Overview you can see the chosen colors and fonts that you chose. On the bottom it shows what you are missing on the Brand Identity and you can see your progress.
Note: You don't to make to a 100%, just fill out ones that you need or that makes sense.

Troubleshooting
For any issues encountered during the submission of the Customer Repair Job, please contact Flawless POS support for assistance.
Was this article helpful?
That’s Great!
Thank you for your feedback
Sorry! We couldn't be helpful
Thank you for your feedback
Feedback sent
We appreciate your effort and will try to fix the article