In this guide, we'll walk you through the steps in using the Stuller & Laravo Integration in the Point of Sale module in FlawlessPOS.Stuller Integration works by serving as a live digital bridge between Stuller's and Laravo's massive wholesale inventory database and FlawlessPOS' system. This guide will help walk you through it.
Step 1: Accessing the Point of Sale Module
To begin, access the POS module by following these steps:
Open the Left Navigation Menu on your dashboard.
Select the Sale option from the menu.
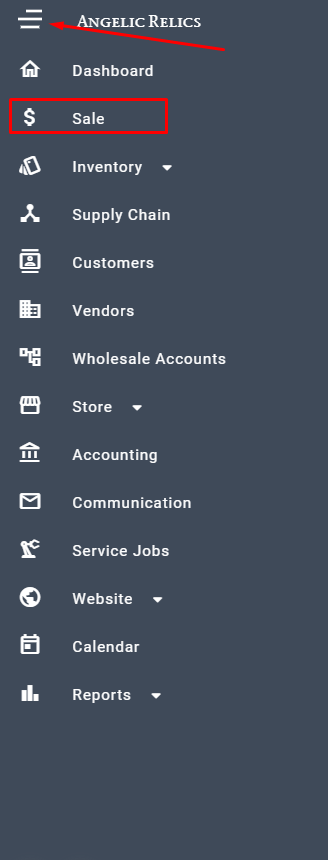
Step 2: Accessing Stuller & Laravo Products
Now that you’re in the POS module, locate Stuller or Laravo on the left, just below the search bar. Choose which one, Click on it
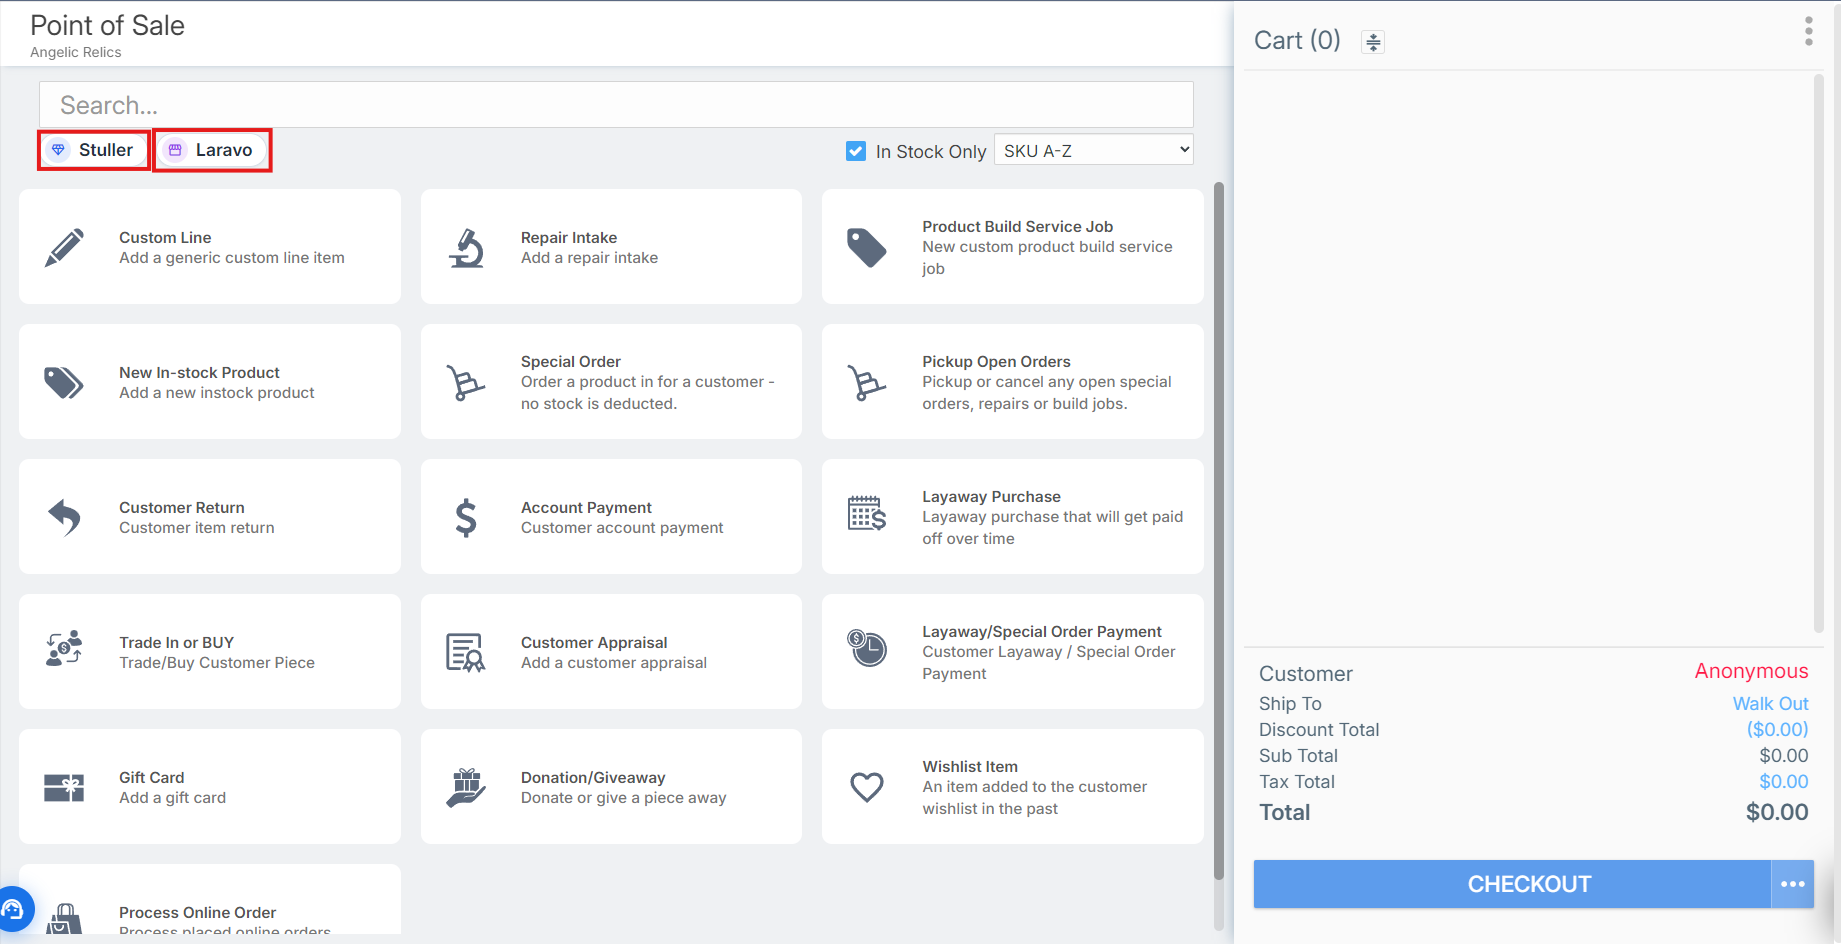
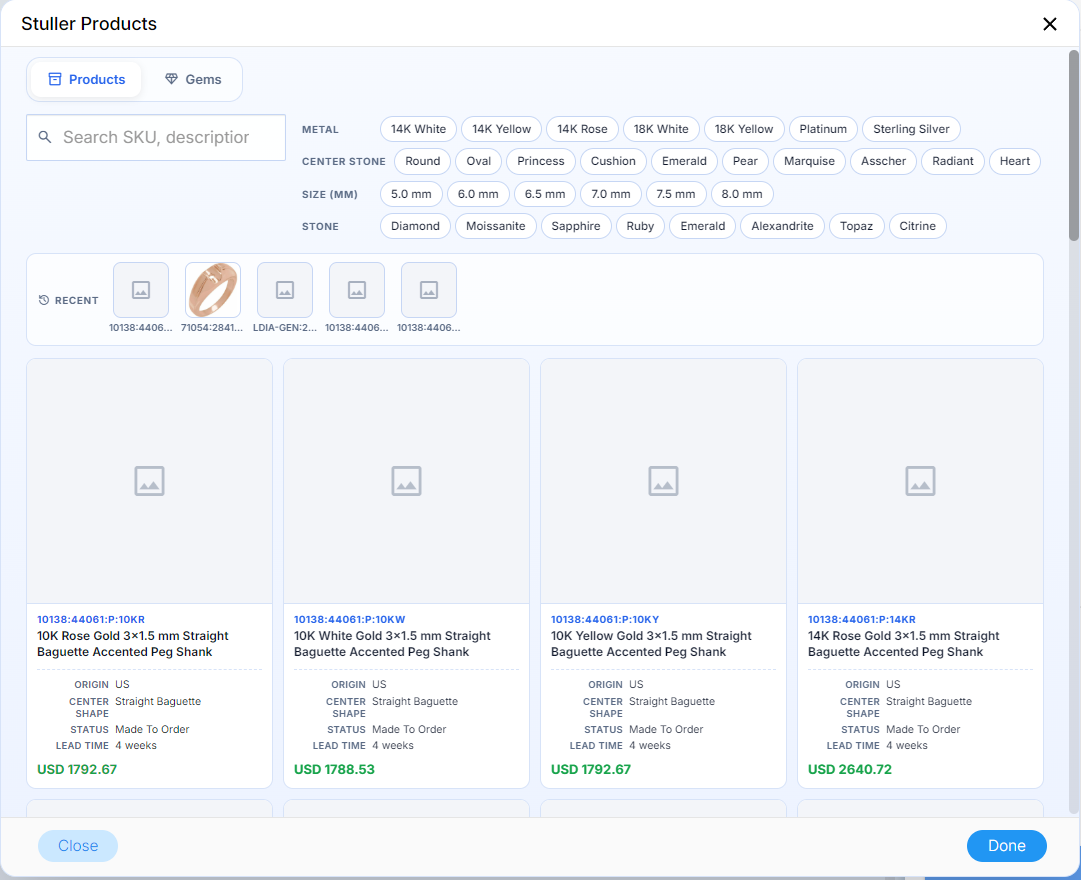
A box will open where you can access Stuller's inventory.
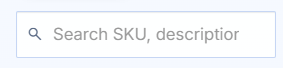
In the search box you can search for a product directly whether it'd be it's name, SKU and it's description.
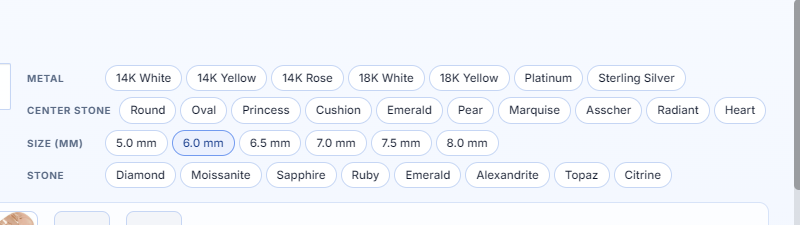
Stuller has filters to help you look for specific products. You can select filters for
- Metal
- Center Stone
- Size
- Stone
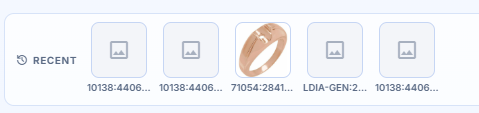
Note: Recently bought Stuller products are shown just below the filters
You can also choose Gems as an option for buying. This will show all the Gems products of Stuller.
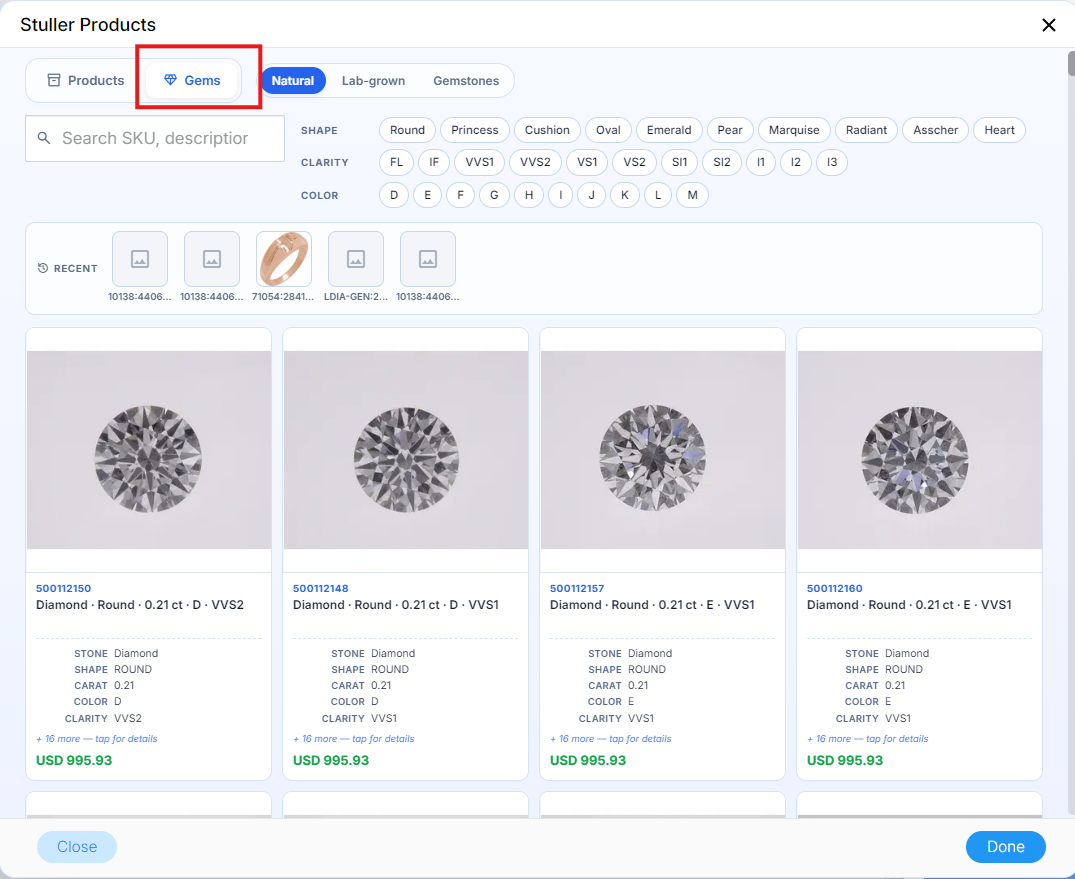
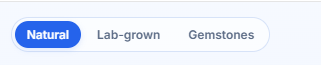
You can choose the type of Gems whether it'd be
Natural
Lab-grown
Gemstones
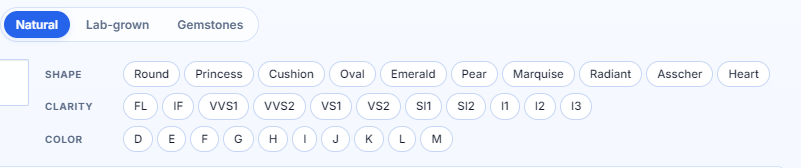
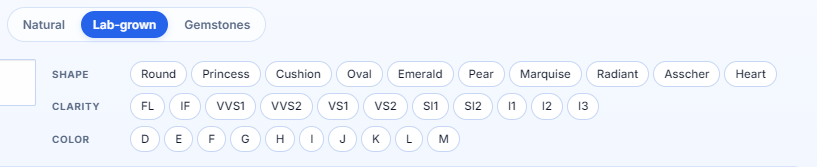
Just like the Products option, each one of the different types of gems has their own filters.
Natural has Shape, Clarity, and Color
Lab-grown has Shape, Clarity and Color
Gemstones has Stone and Color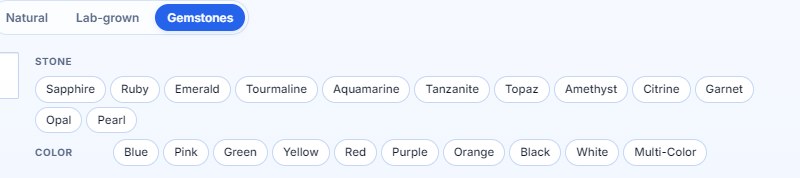
Step 3.2 : Laravo Products and Filters
A box will appear when you click Laravo, in here you can see the list of available vendors or brands in Laravo. Choose either one
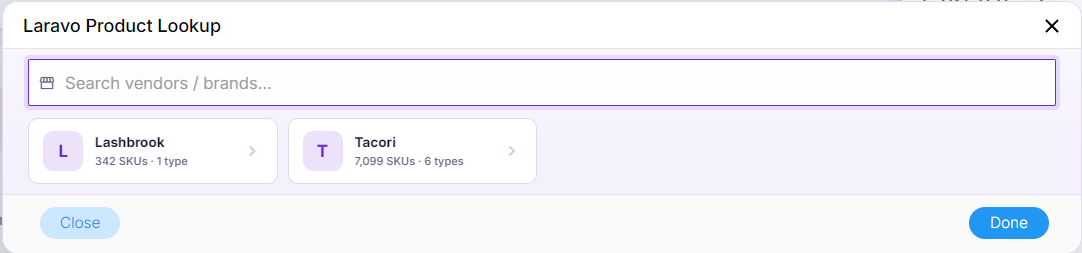
Laravo, has filters to help you look for specific products. Filters may vary depending on the vendor you chose. For this specific vendor ( Tacori ). It has 7 filters, bracelet, earring, necklace, ring, engagement ring, and wedding band. You can also use the search bar to look up a specific product.
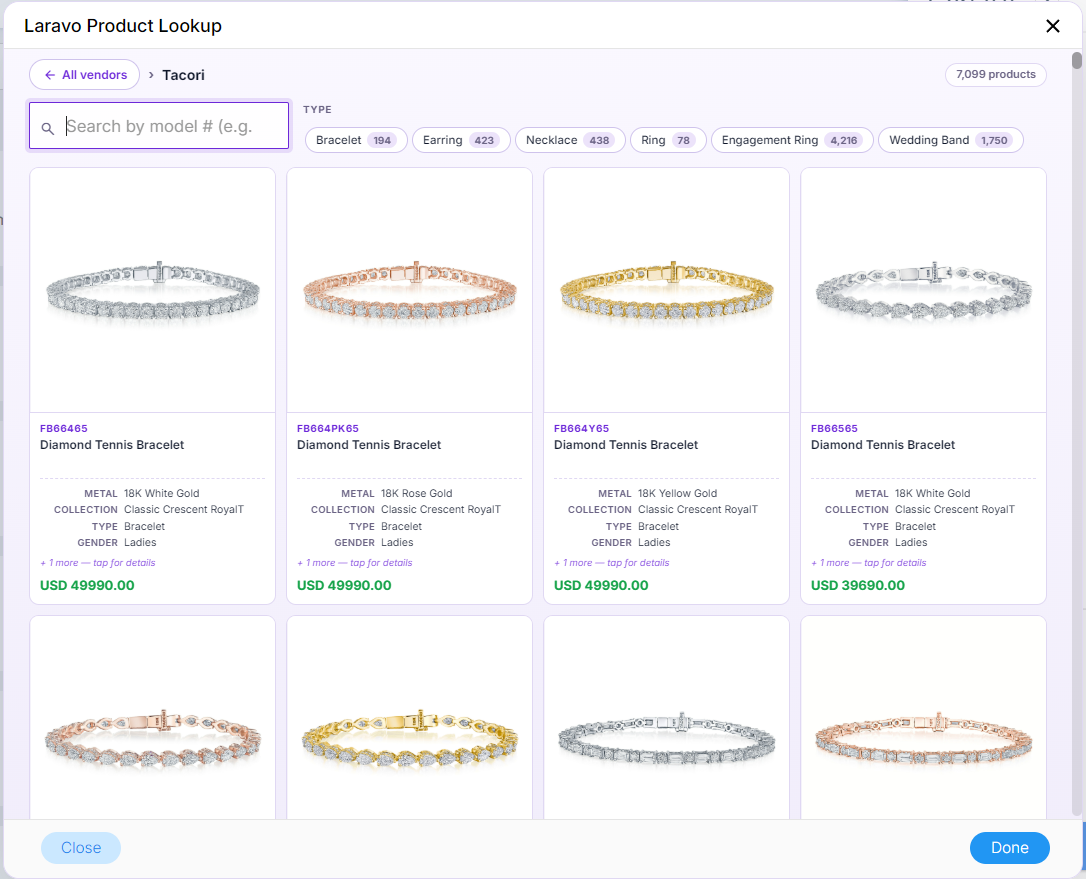
Step 4: Choosing the Product
Once you have decided on what product you want, simply click on the product.
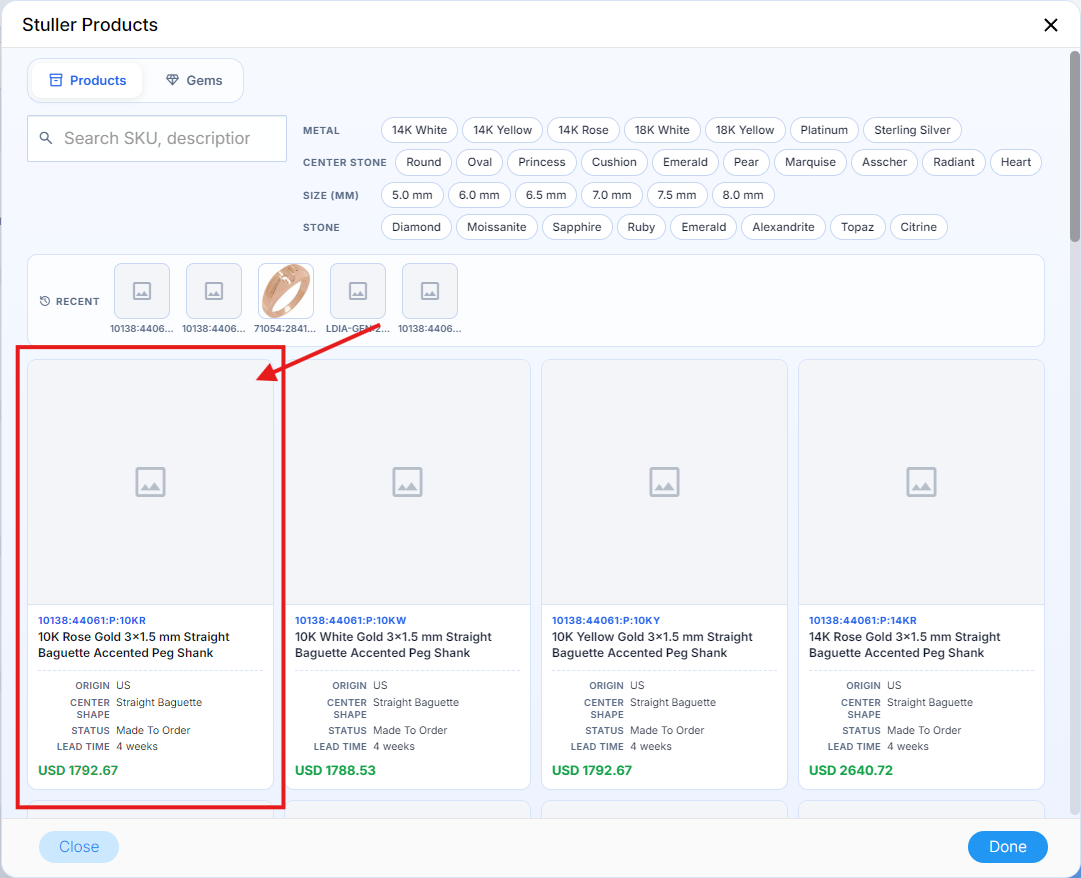
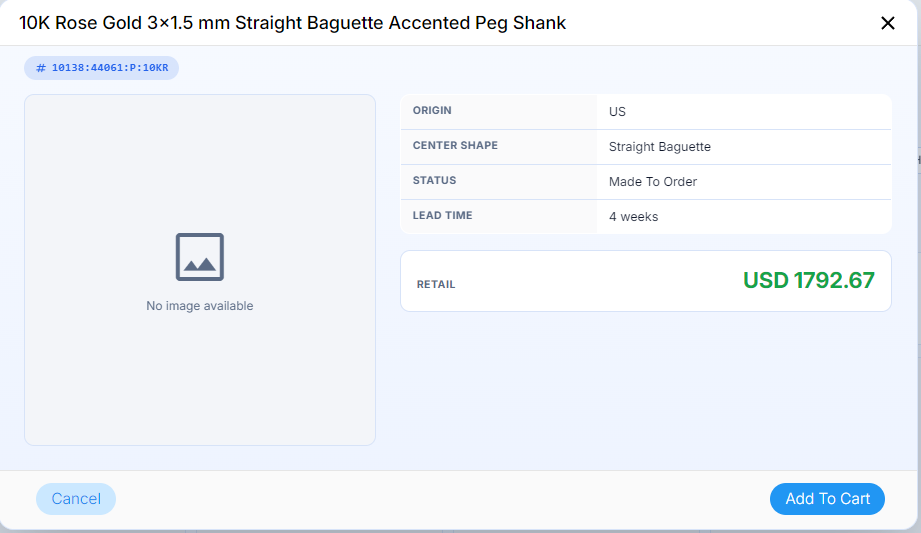
For Stuller, another box will appear for product that you clicked. In here you can see the image and details of the product.
- Origin -Specifies the country where the jewelry component is manufactured, cast, or assembled
- Center Shape - Identifies the specific geometric cut of the primary gemstone that this mounting is engineered to hold.
- Status - Indicates the current inventory and manufacturing availability of the item.
- Lead Time - The estimated timeframe required by the manufacturer to produce, quality-check, and prepare the item for shipment.
- Retail - The final customer-facing price of the item, calculated automatically by the software.
For Laravo, another box will appear for product that you clicked. In here you can see the image and details of the product.
- Metal - It tells you the structural base and color of the piece.
- Collection - It groups jewelry by its artistic design theme
- Type - It tells you where on the body the jewelry is meant to be worn.
- Gender - It indicates the sizing standards and traditional styling of the piece.
- Stones - It tells you what precious gems are embedded in the metal to add sparkle and value.
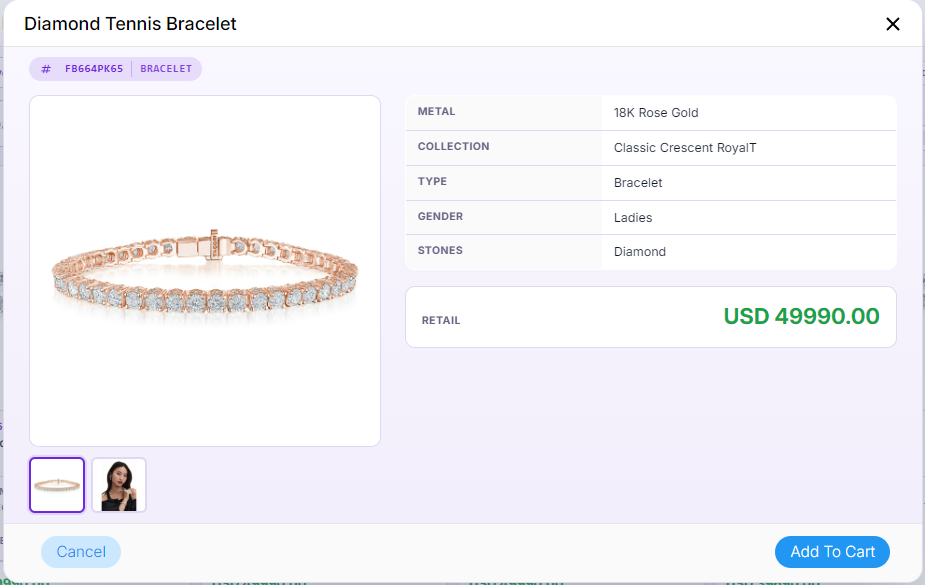
Click Add to Cart once decided
The product will now appear in the Checkout section on the right side of the screen.
Note: Stuller & Laravo products are treated as Special orders
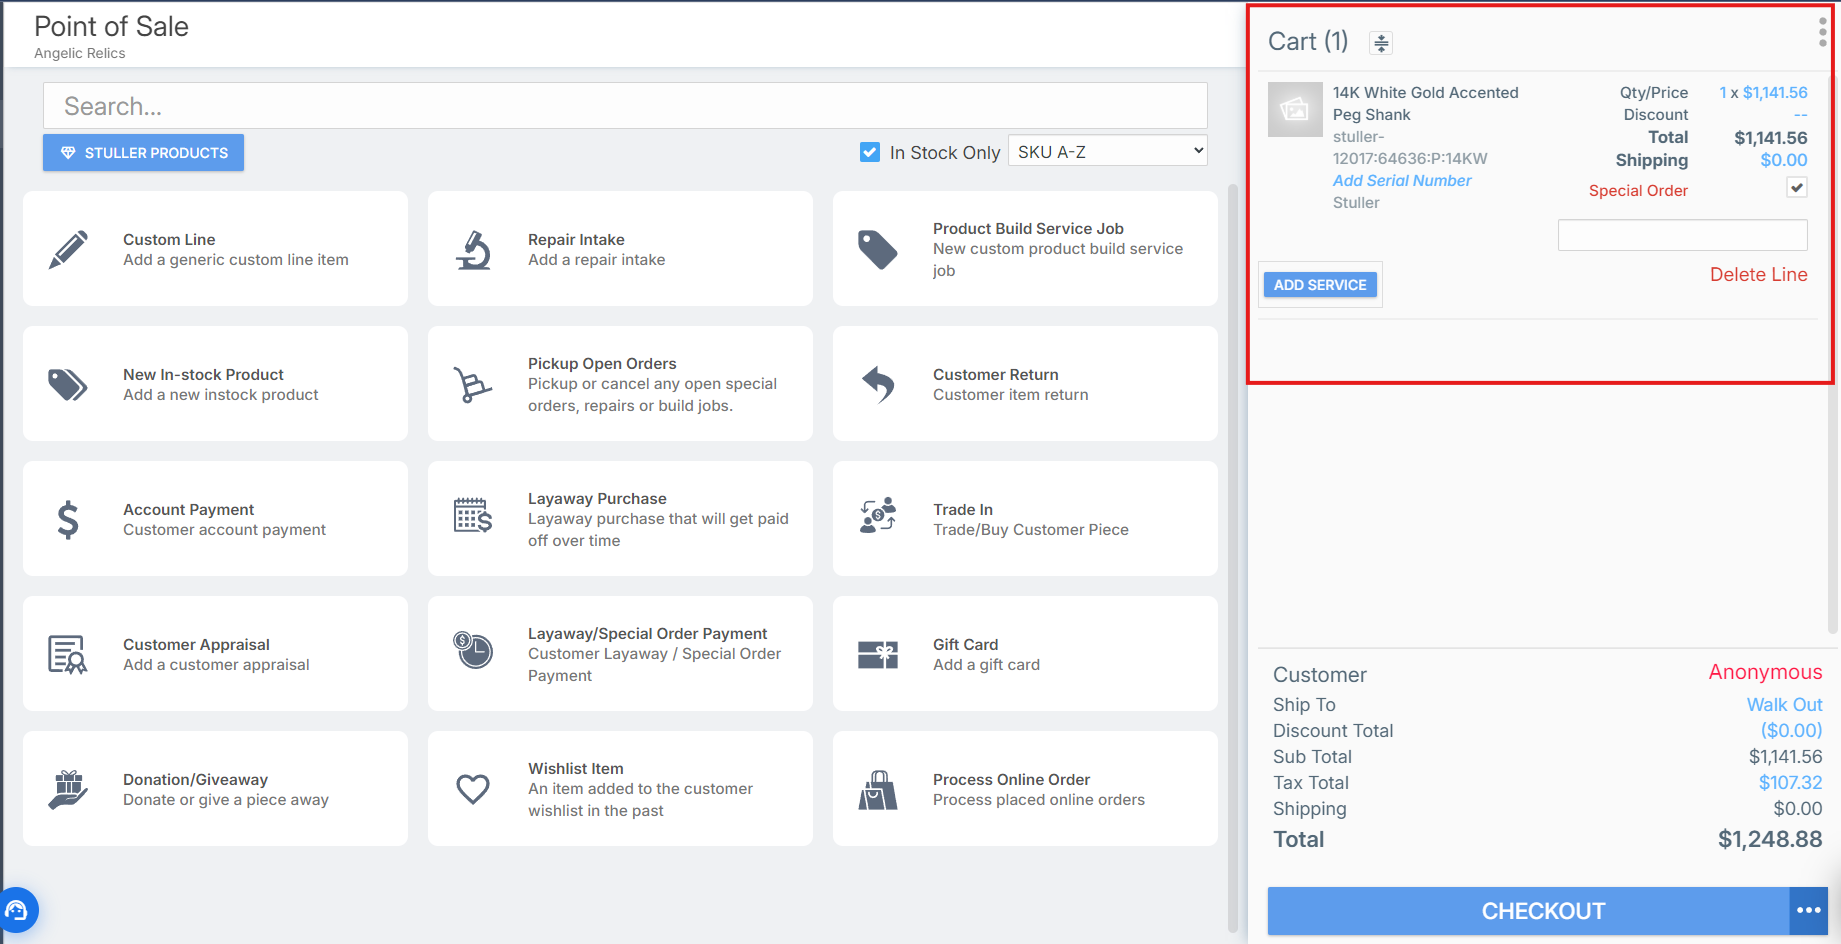
Step 5: Selecting the Customer
Before finalizing the sale, choose the customer making the purchase:
Click the Pick Customer button located at the bottom-right corner.
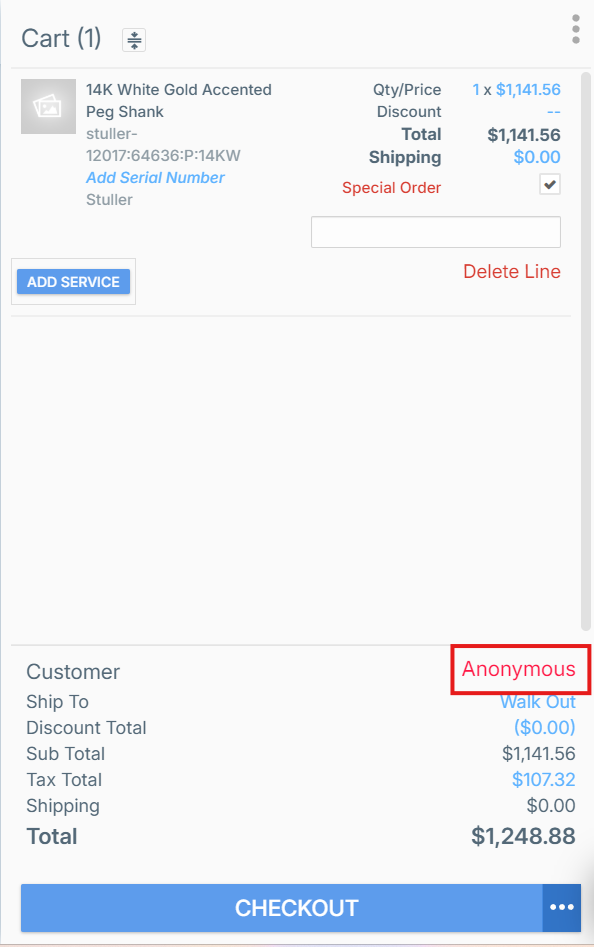
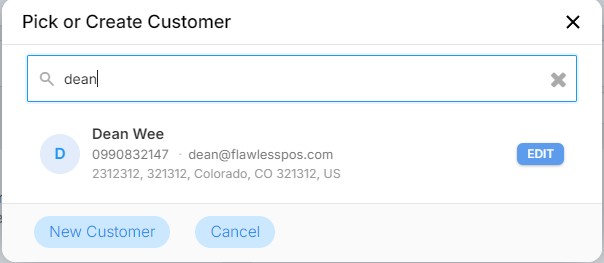
You can either select an existing customer or create a new one:
To add a new customer, click the New Customer button in the bottom-left corner.
In this example, we’ll select an existing customer from the list.
Note: When you select a customer, there will be an option to select whether the customer is:
A Walk Out Customer - A customer who is making a purchase in-store.
Ship To - A customer who wishes to have the order shipped out from the store.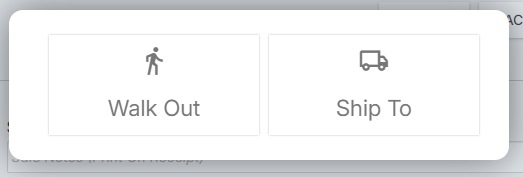
Step 6: Proceeding to Checkout
Once you’ve configured the product details and tax:
Press the Checkout button to continue.
If the products are to be shipped, you may choose to configure the shipment or to add custom tracking details. However, if the customer makes an in-store purchase, you may simply click the Next button located at the bottom right corner.
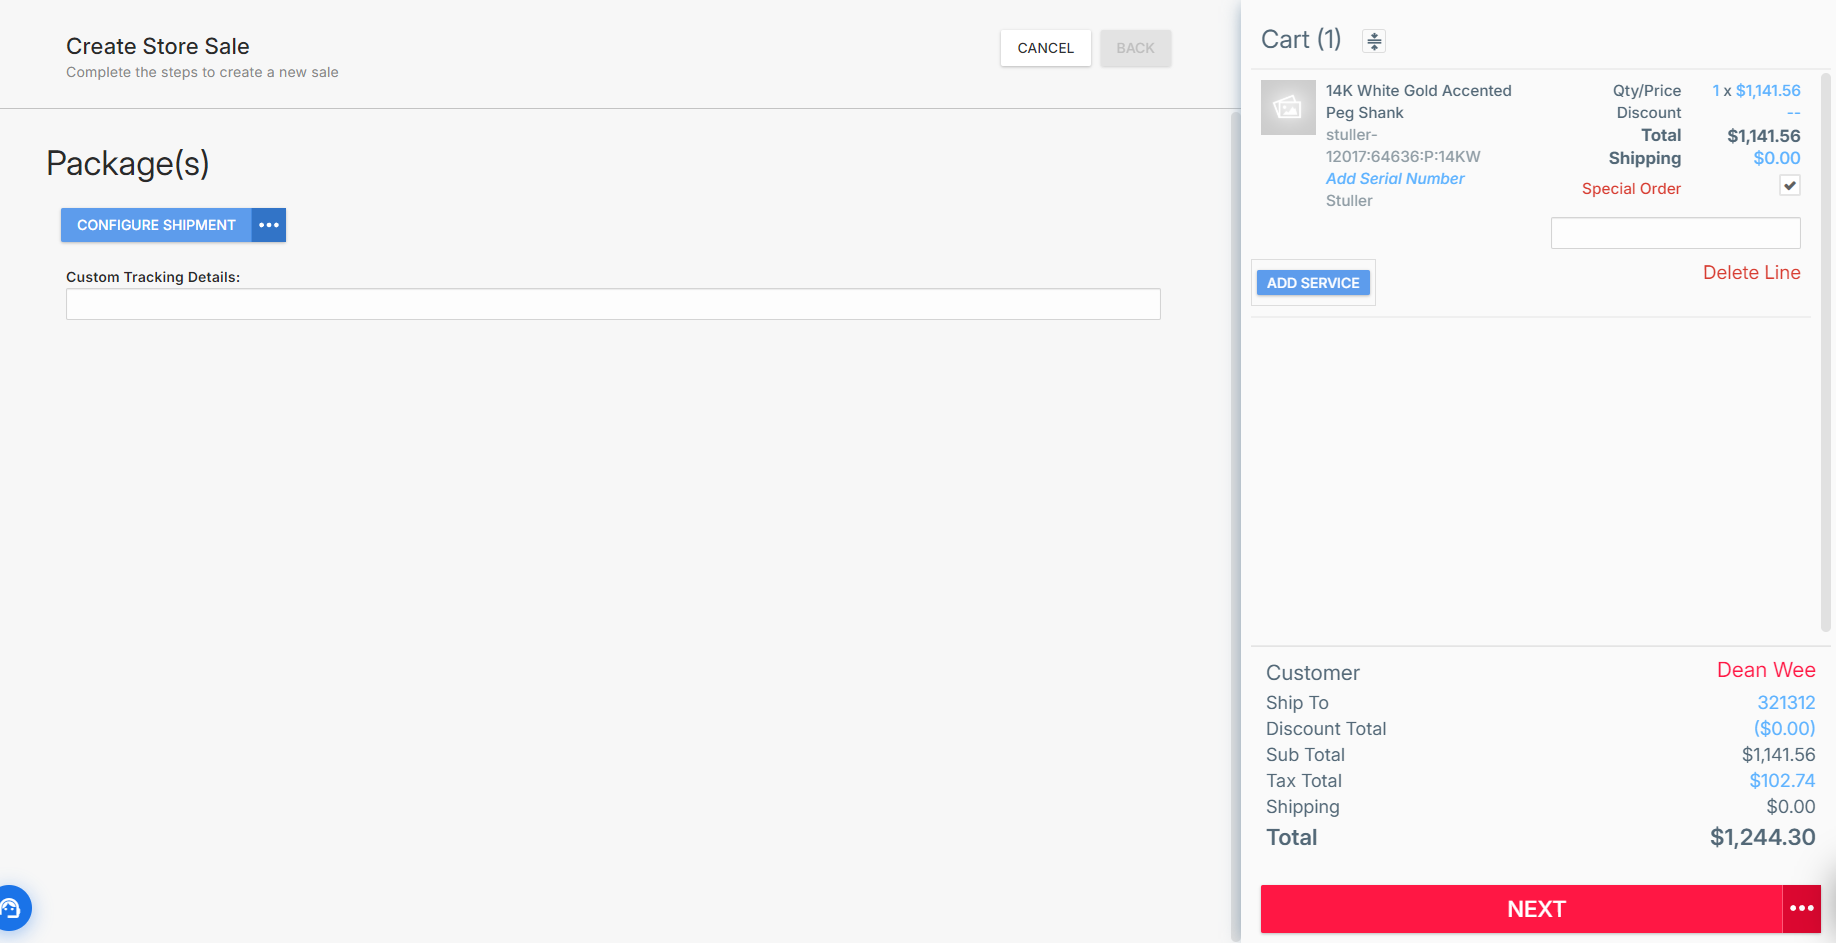
You’ll be taken to the Store Sale Details section, where you can review or edit customer information.
Step 8: Selecting the Sales Person and Payment Method
In the final checkout section, you can:
Change the Sales Person handling the transaction.
Select the Payment Method the customer will use.
Should there be any need for additional information, you may add it under the Sale Notes field. Any information added under this field would also show up on the Receipt and Sales Details of the purchase.
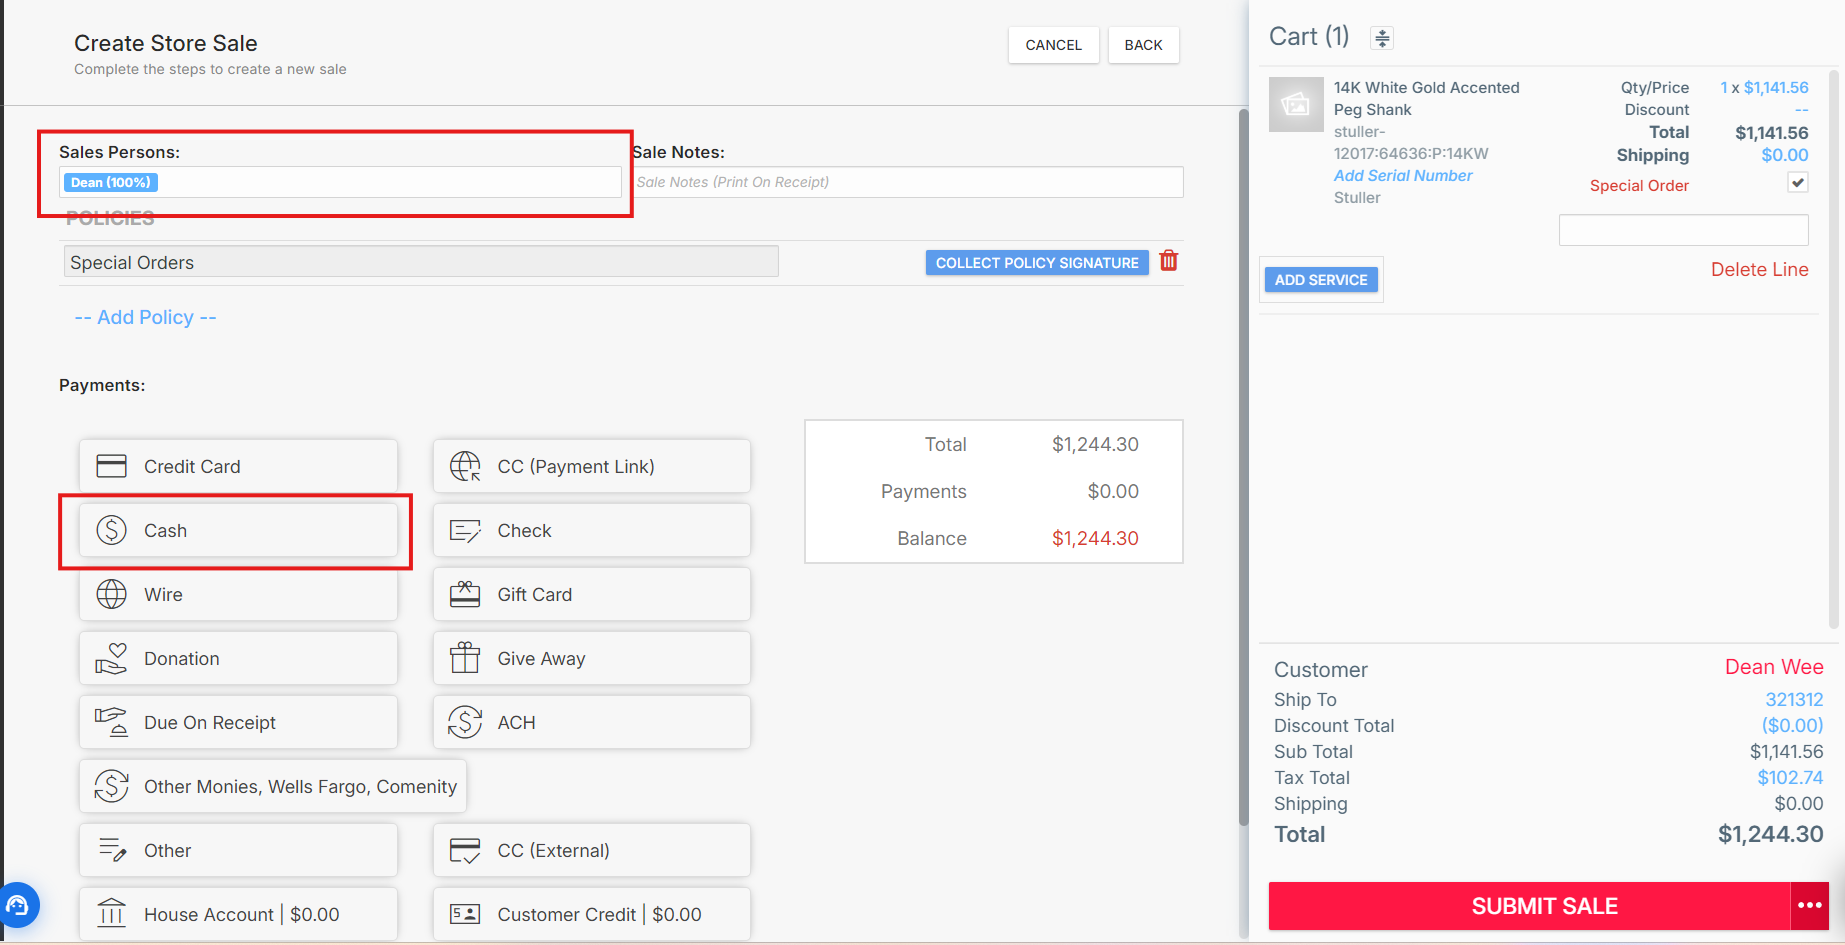
Step 9: Submitting the Sale
Once everything is set:
Press the Submit Sale button to complete the transaction.
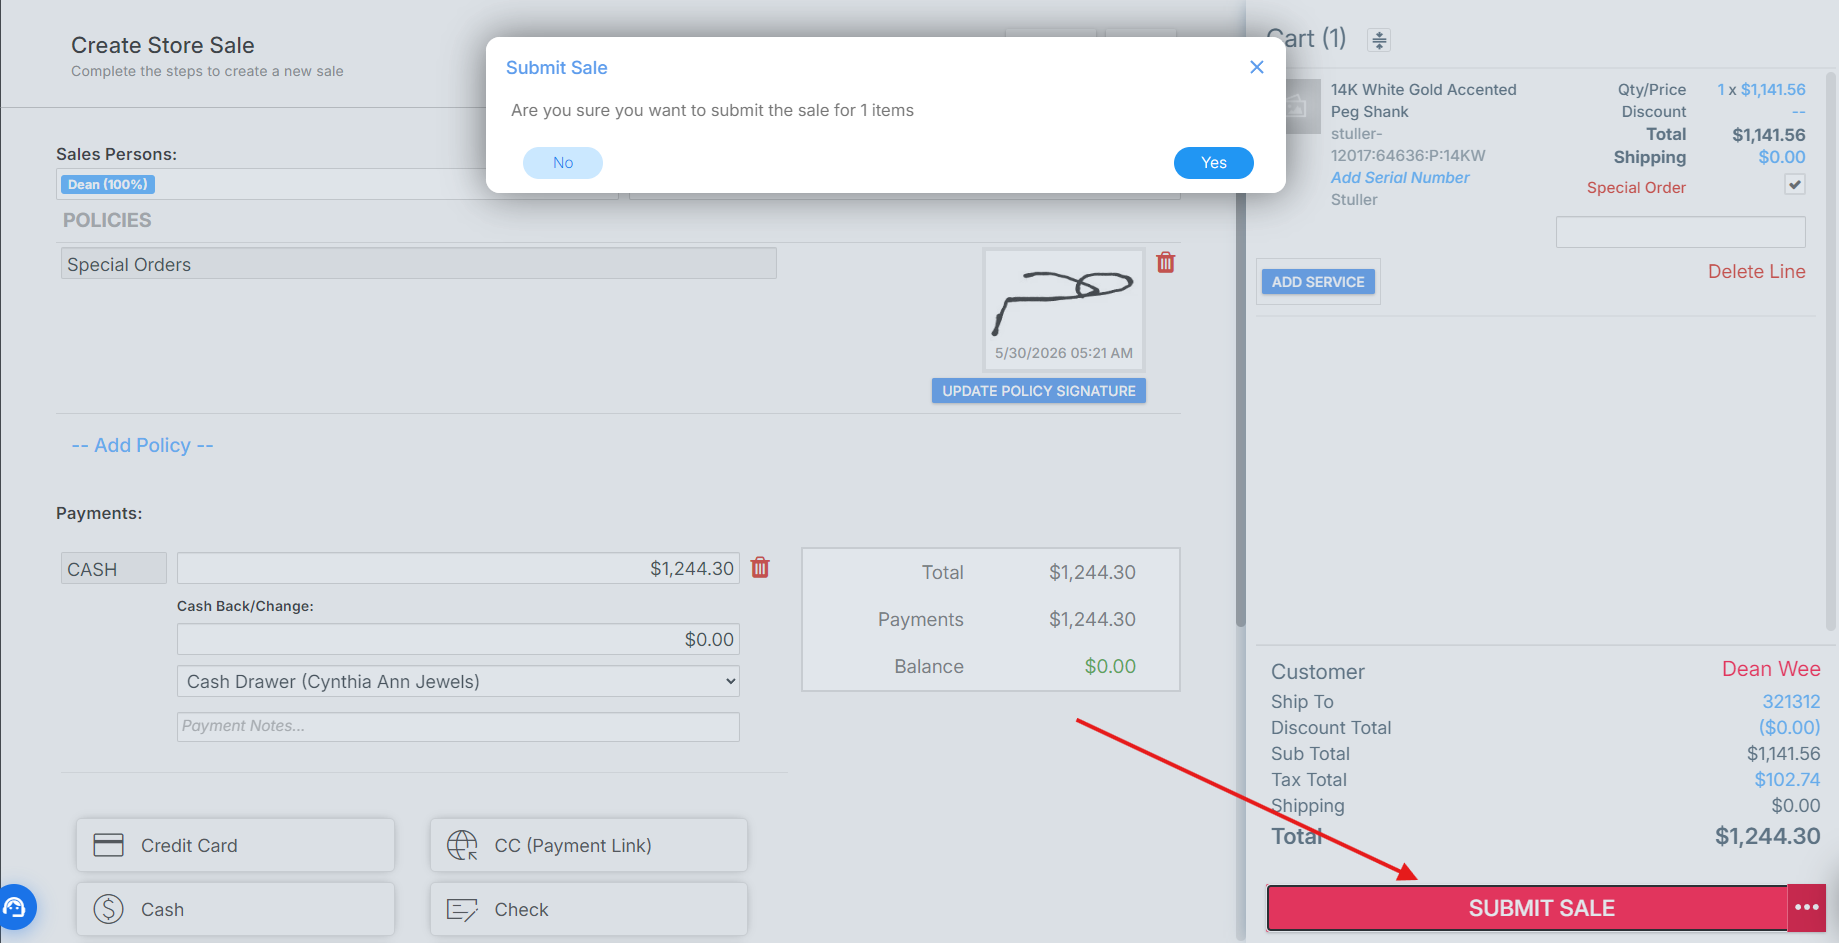
After submitting the sale, you’ll have the option to send, print, or view the receipt.
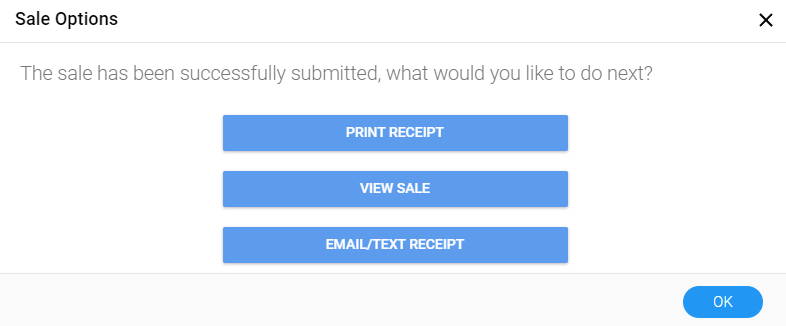
Step 10: Finalizing the Sale and Continuing to the Next Customer
Once the sale is submitted, click the OK button to begin checking out the next customer.
That’s it! You’ve successfully submitted a new sale using Stuller Integration through the Flawless POS system.
Troubleshooting
If you encounter any issues while using the Stuller Integration in the POS, please reach out to Flawless POS customer support for technical assistance.
Was this article helpful?
That’s Great!
Thank you for your feedback
Sorry! We couldn't be helpful
Thank you for your feedback
Feedback sent
We appreciate your effort and will try to fix the article