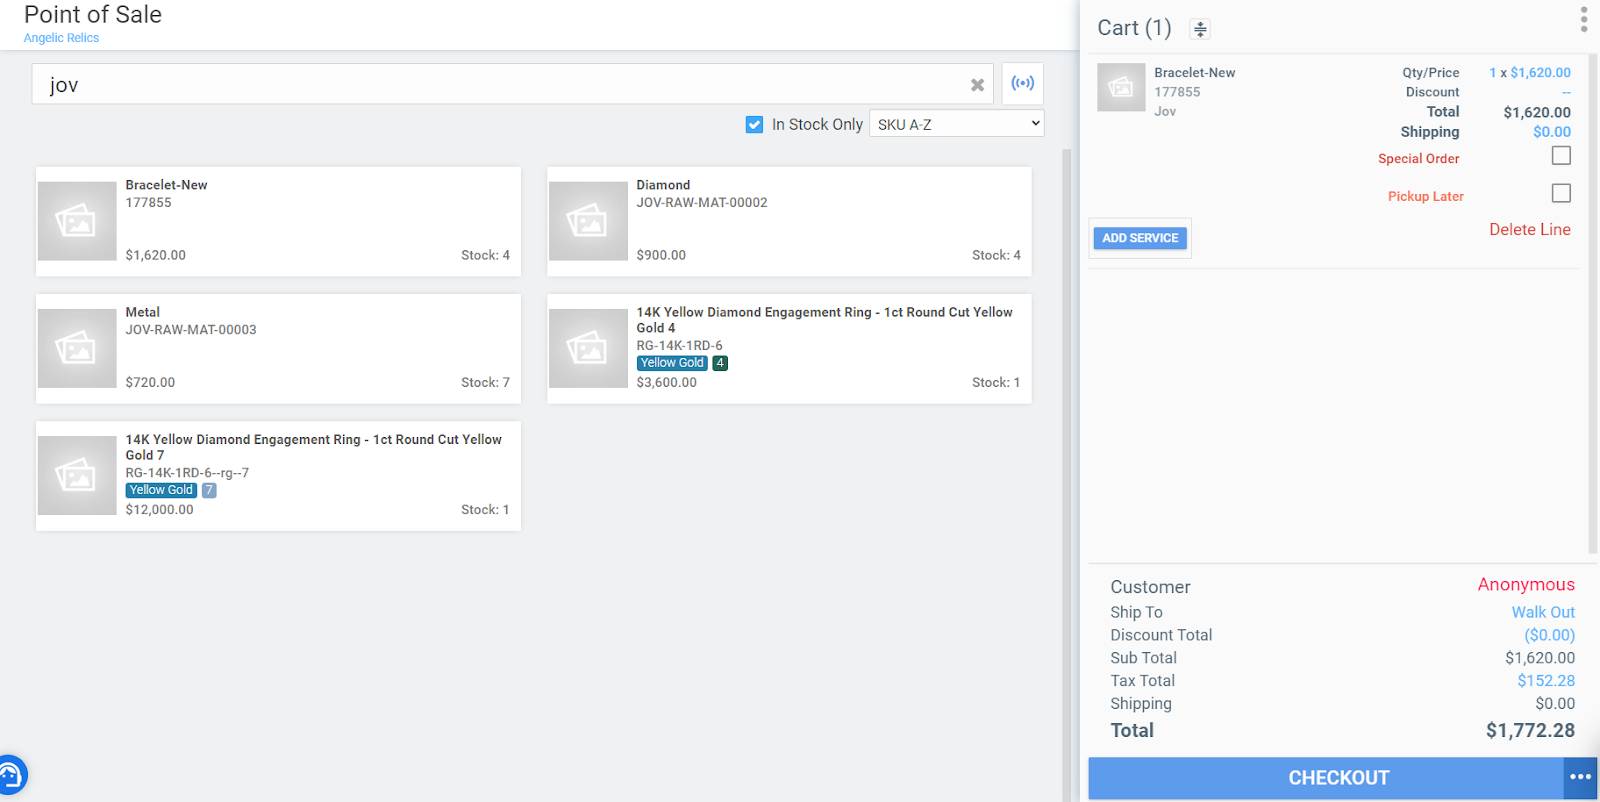
In this guide, we’ll cover how to create a new customer profile during the Store Sale process in Flawless POS. By adding customer information at the point of sale, you streamline future transactions, making it easier to track customer preferences and ensure a seamless experience.
Why Create Customer Profiles?
Creating customer profiles allows you to capture valuable customer information for future use. This not only speeds up the checkout process for returning customers but also allows for better communication through marketing and customer outreach, based on stored preferences.
Step 1: Starting the Store Sale Process
To begin, initiate the Store Sale process by selecting the product(s) your customer is purchasing, as outlined in the Sale module. Once the products are added to the checkout, you’ll need to associate a customer with the sale.

Step 2: Picking a Customer
In the checkout screen:
Click on the Pick Customer button located in the bottom-right corner of the checkout panel.
A dialogue window will open where you can either select an existing customer from the list or create a new customer profile.

Step 3: Creating a New Customer Profile
To create a new profile:
Click on the New Customer button, which is located in the bottom-left corner of the Customer selection window.
A form will appear where you can enter essential customer information such as:
First Name
Last Name
Email Address
Phone Number
Address
Make sure to enter accurate details, as this information will be crucial for future sales, customer communication, and loyalty campaigns. Additionally, you may also make use of the auto complete feature for the address field. If the system recognizes the address, it will then generate a suggestion for the location which you can select and it will automatically populate the address field. Any changes made in the customer profile may also be changed/updated at a later date.
Step 4: Setting Customer Preferences
You can also configure customer communication preferences during profile creation through the Preferred Method dropdown field:
If the customer does not want to be contacted, you can select the Do Not Contact option. This will prevent them from receiving any communications.
Else if a customer wants to receive their communications via Email or Phone, you may also select the following options in the dropdown.

Step 5: Saving the New Customer Profile
After you’ve filled in the necessary information and configured any communication preferences, click the OK button. The new customer will now be added to your customer database.
Step 6: Searching for Customers in the Future
Once saved, your new customer will be available in your customer list, which is sorted alphabetically by first name. You can easily search for them in future transactions, making checkout faster and more efficient.
Troubleshooting
If you encounter any issues while trying to create a New Customer in the POS, please reach out to Flawless POS customer support for technical assistance.
Was this article helpful?
That’s Great!
Thank you for your feedback
Sorry! We couldn't be helpful
Thank you for your feedback
Feedback sent
We appreciate your effort and will try to fix the article

