This article walks you through the step-by-step process of accepting a customer trade-in or over-the-counter (OTC) purchase directly through the Retail POS system.
Step 1: Access the POS Module
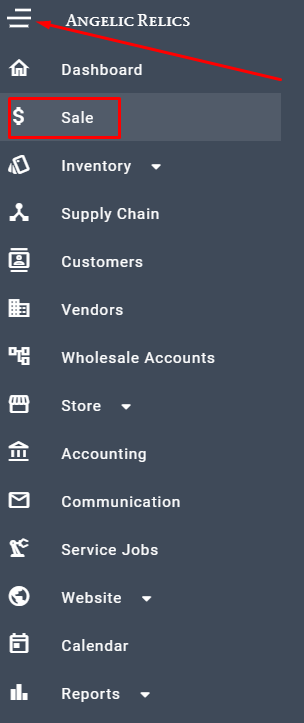
Open the left-hand main navigation menu on your dashboard. Locate and click on the Sale menu option to launch the Point of Sale module.
Step 2: Initiate the Trade-In
Once inside the POS interface, locate the Trade-in button to begin the intake process.

Step 3: Pick or Create the Customer Profile
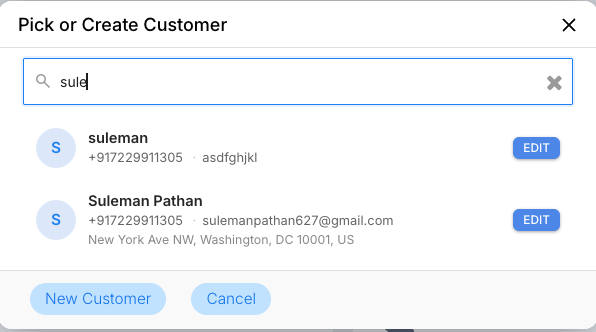
Search for the customer. For this workflow, we'll select the existing profile Suleman. (Note: If the customer is new, use the 'New Customer' flow before proceeding
Step 4: Choose the Purchase Category
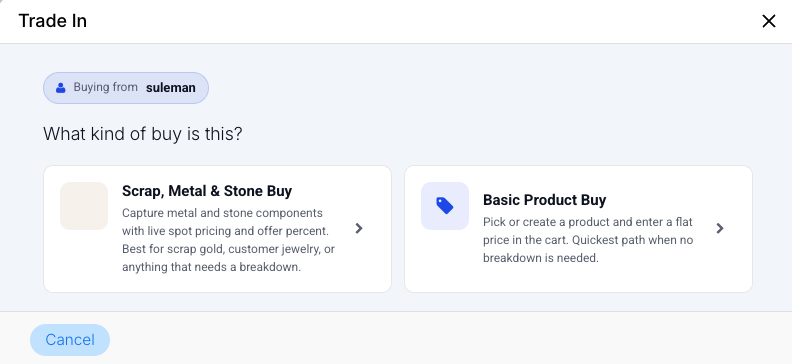
A trade-in dialog box will appear presenting two distinct pathways:
Option A: Scrap, Metal, & Stone Buy
Option B: Basic Product Buy (for resalable, finished jewellery)
Select Scrap, Metal, & Stone Buy to open the specialised Over-the-Counter (OTC) Purchase / Trade In dialog.
Select Scrap, Metal, & Stone Buy to open the specialised Over-the-Counter (OTC) Purchase / Trade In dialog.
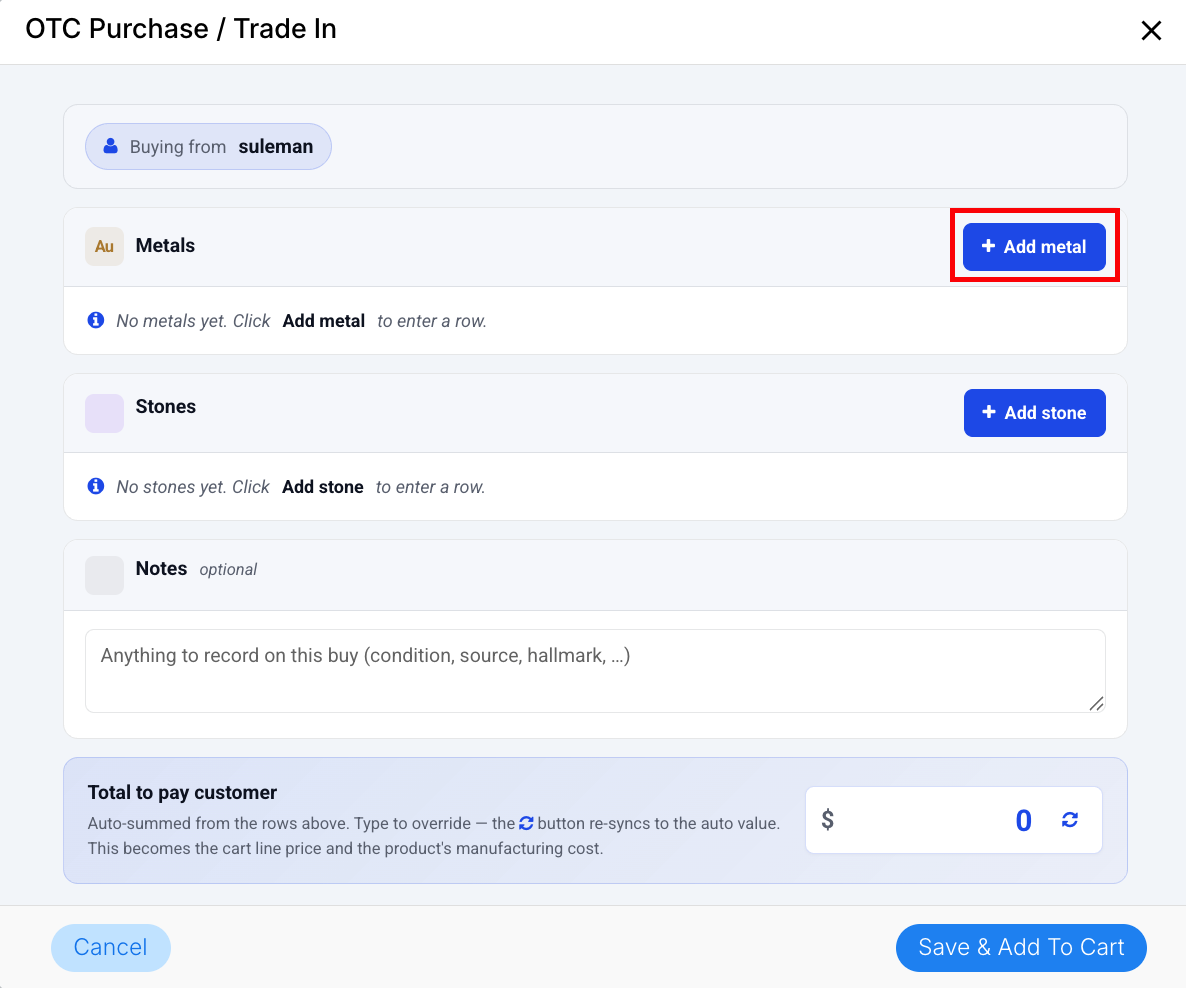
Within the OTC window, you will see separate sections for Metals and Stones.For this article we'll do for scrap gold. Click on the Add Metal button.
Step 5: Configure the Material Details
In the configuration fields that appear, enter the following specific details:
Product : (e.g., Scrap Gold).
Metal Type / Purity: Let's Select Gold 14K Yellow from the dropdown options for this example.
Weigh the item on your certified scale and process the valuation:
Check the Live Rate: You will find the live, built-in current market value of your selected metal automatically displayed in the Spot Price column.
Enter Weight: Input the exact Weight into the designated field.
Enter Offer: Enter the final agreed-upon Offer Amount you are presenting to the customer, using the live spot price as your reference benchmark.
The system will dynamically calculate and display a Raw Total based purely on the raw material weight multiplied by the live spot price and the entered offer metrics.
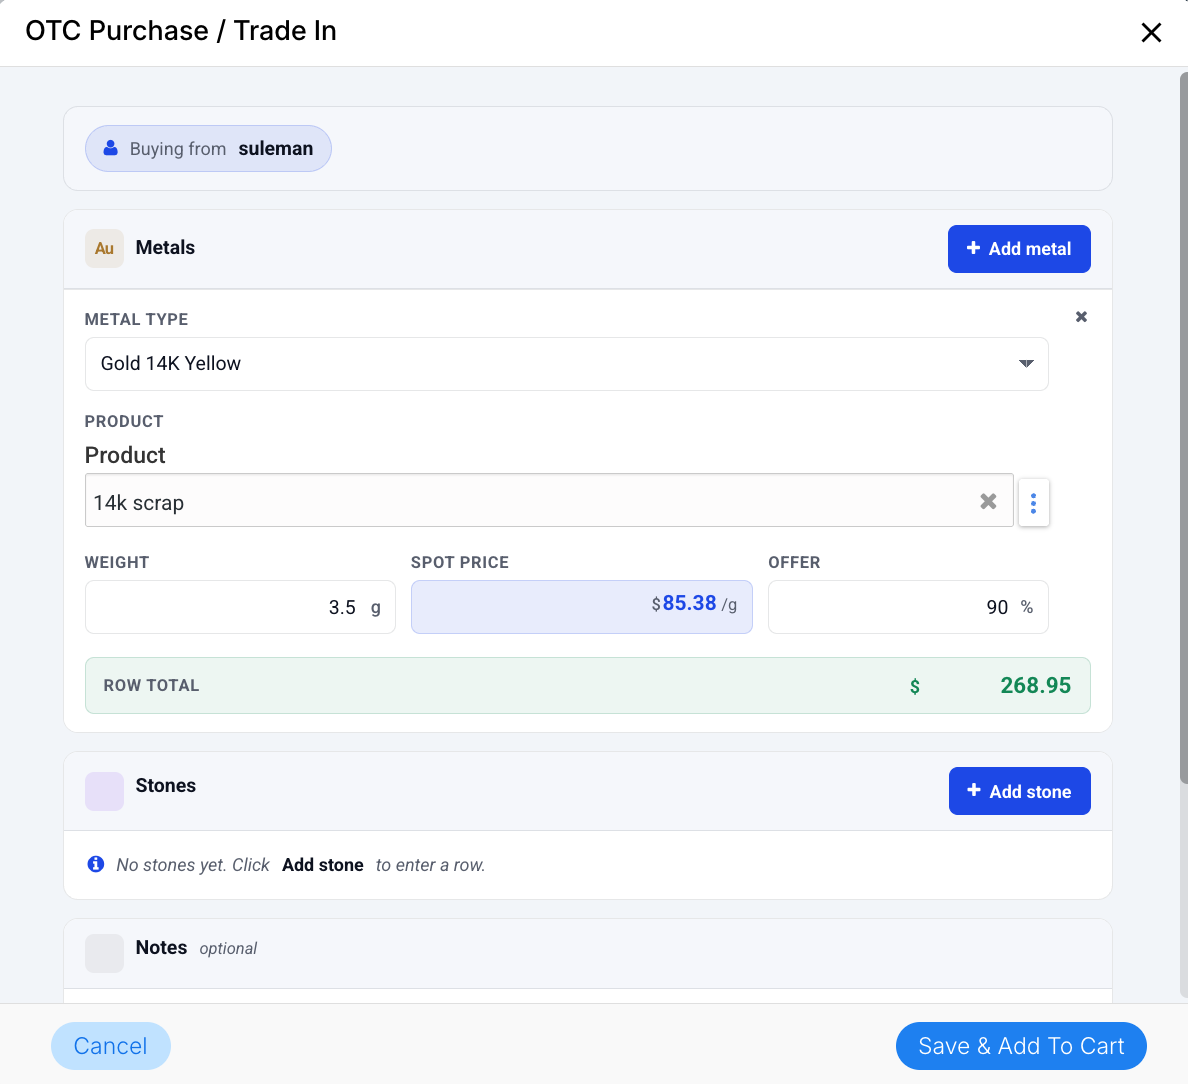
Step 6: Finalize the Product Details
Once you’re satisfied with the product details, press Save & Add To Cart button.
Note that the Grams/Price line is negative, indicating that the item is being bought from the customer, effectively issuing credit.
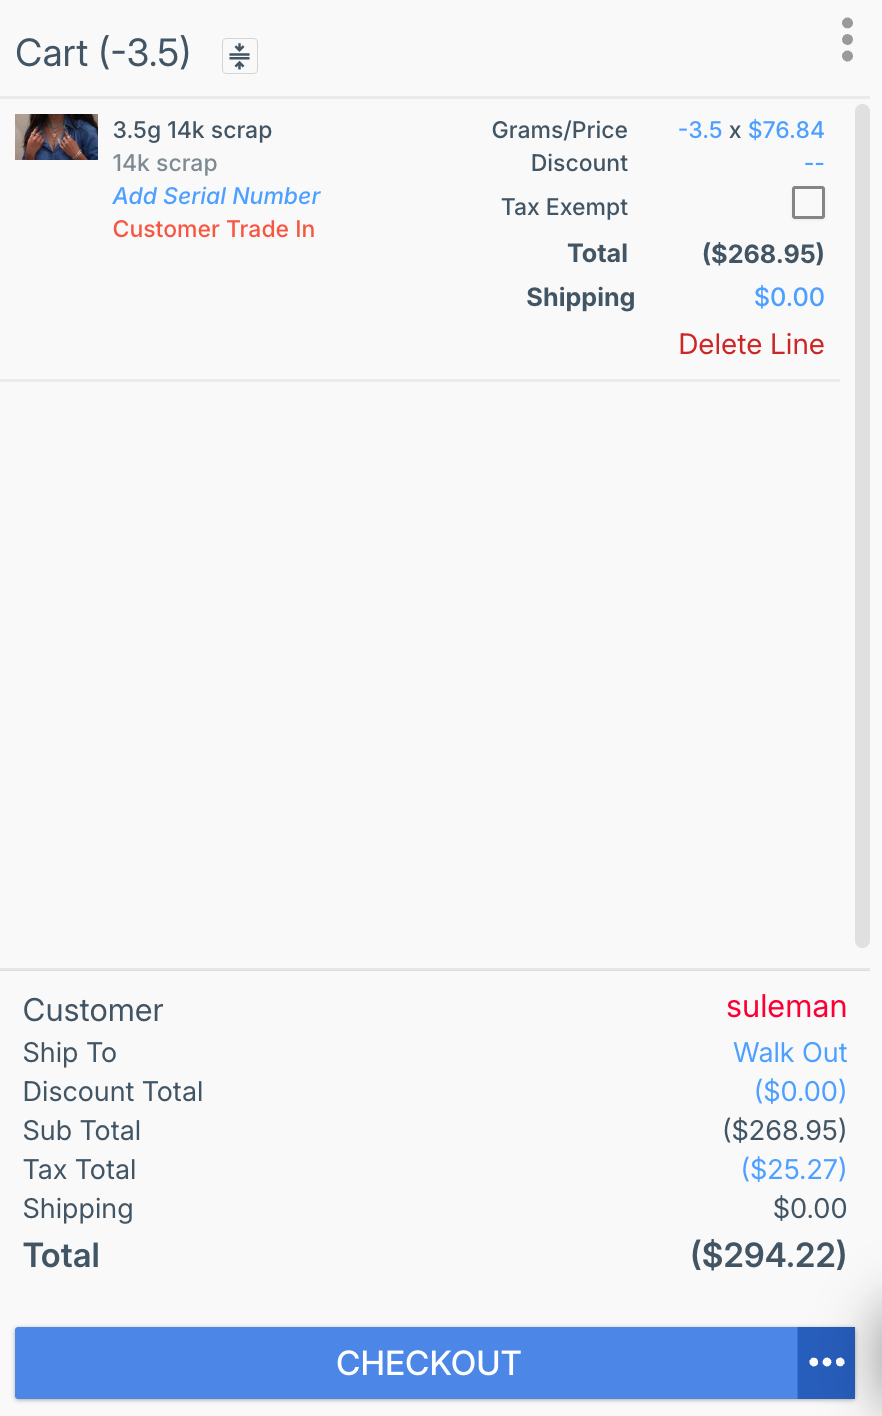
Step 7: Complete the Sale and Confirm Stock
Proceed with the checkout to complete the trade-in.
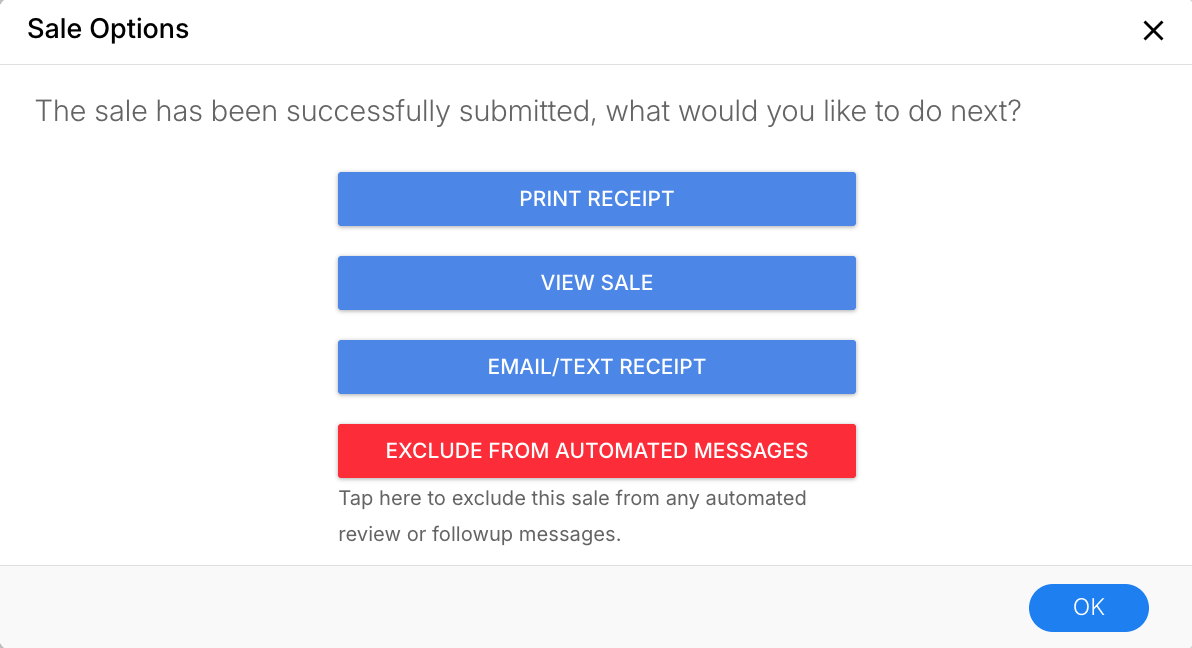
Once the sale is submitted, click View Sale to confirm the transaction details.

Adding Stones to the Trade-In
If the customer's jewelry item includes loose or set gemstones that your store is also purchasing, you can log them during the same session before finalizing the transaction.
Step 1: Navigate to the Stones section
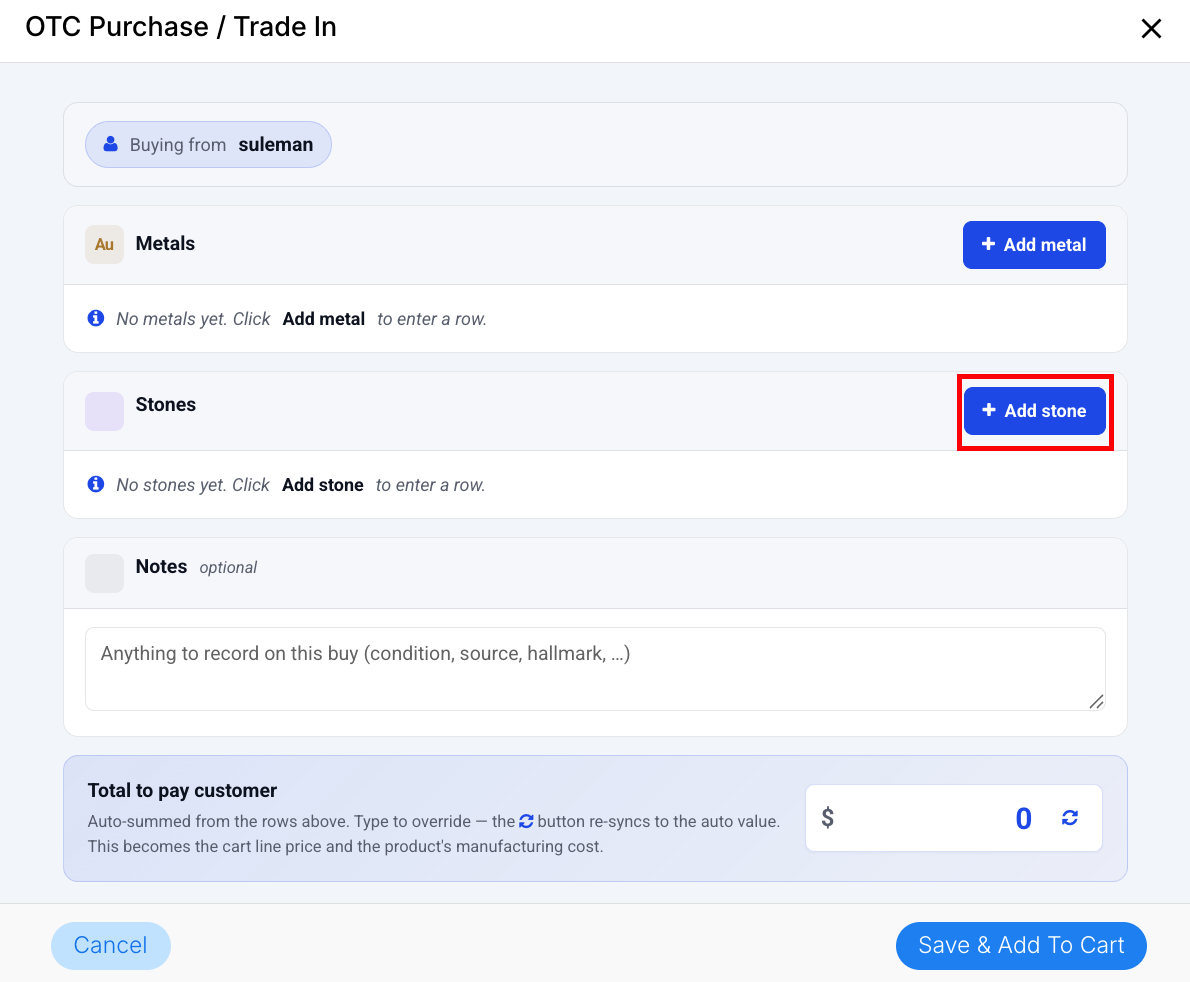
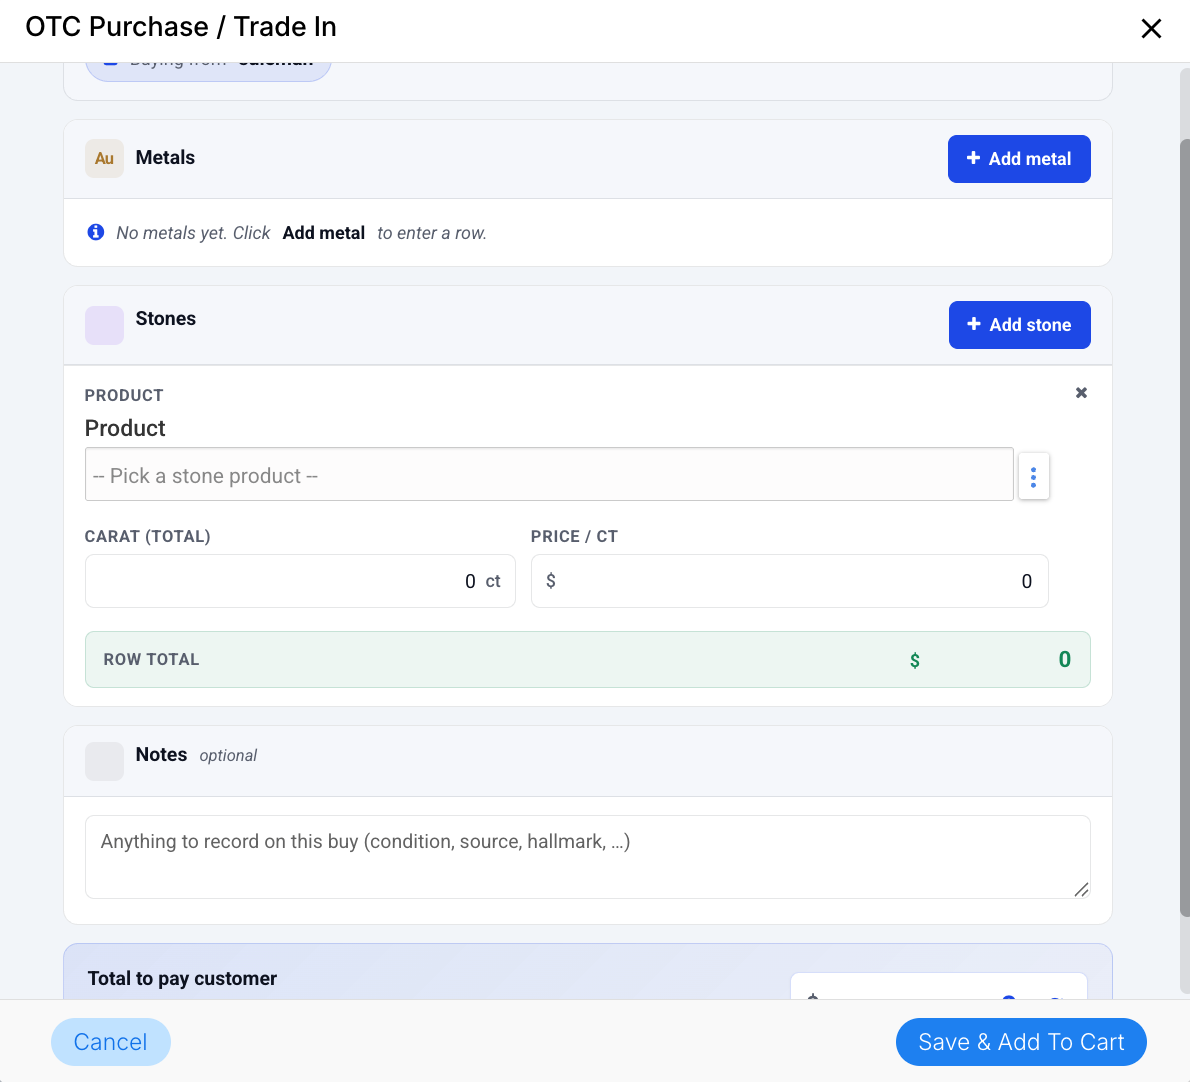
Step 2: Configure the Stone Detail Panel
Click on the Add Stone button. This opens the Stone Detail Panel, presenting three specific fields for you to complete:
Product: Select the appropriate item from your existing inventory database. Use the dropdown or search bar to map the trade-in to a standardised stone product profile in your system.
Carat (Total): Enter the total carat weight of the gemstone(s) being traded in.
Price/Ct: Input the agreed-upon purchase price per carat for that specific stone quality.
Troubleshooting
For any issues encountered when you’re trying to Receive a Customer Trade-in through the Retail POS, please contact Flawless POS support for assistance.
Was this article helpful?
That’s Great!
Thank you for your feedback
Sorry! We couldn't be helpful
Thank you for your feedback
Feedback sent
We appreciate your effort and will try to fix the article